# Build a Polaroid App with Next.js & Orshot API
> Learn programmatic image generation by building a polaroid app with Next.js and Orshot. Full source code included.
- **URL**: https://orshot.com/docs/examples/instant-polaroid-app
---
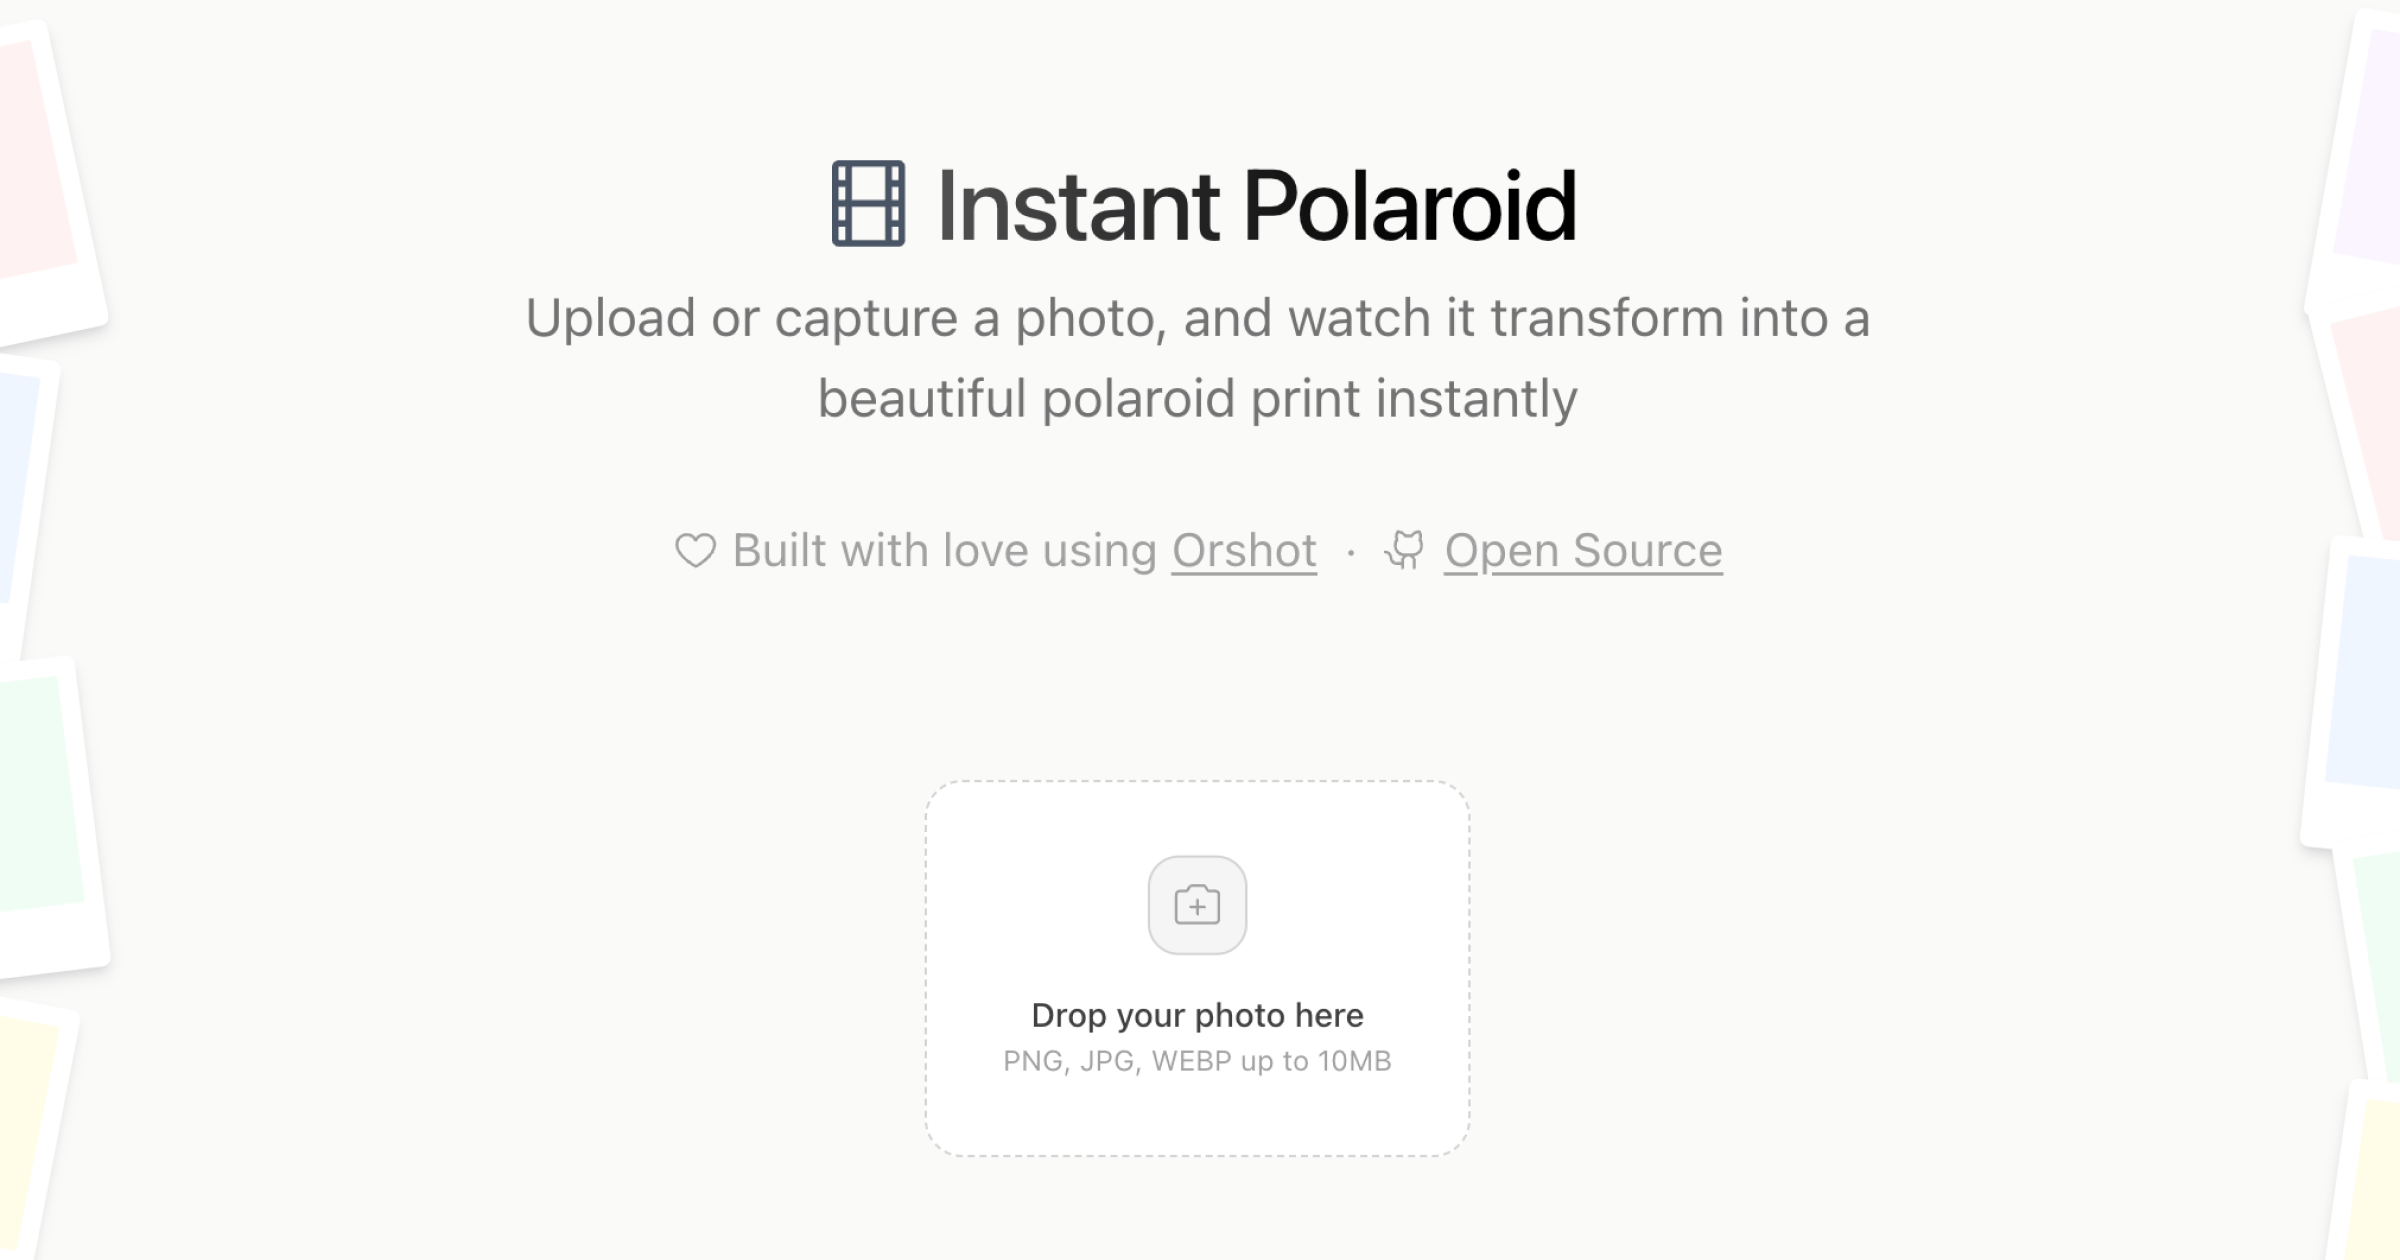
In this tutorial, we'll walk through building **Instant Polaroid** — a simple, open-source web app that turns your photos into beautiful polaroid prints instantly using the Orshot API.
[View Demo](https://instantpolaroid.com "target=_blank") · [Code on Github](https://github.com/rishimohan/instant-polaroid "target=_blank")
## Overview
The app allows users to:
- **Upload or Capture Photos**: Drag & drop or take a photo directly.
- **Customize**: Add a caption and pick a background color.
- **Generate**: Transform the photo into a polaroid-style image using Orshot.
- **Download**: Save individual polaroids or download all as a ZIP.
You can find the complete open-source code on GitHub:
## Tech Stack
- **[Next.js 15](https://nextjs.org)**: React framework with App Router.
- **[Orshot API](https://orshot.com)**: For generating the polaroid images programmatically.
- **[Tailwind CSS 4](https://tailwindcss.com)**: For styling.
- **[Framer Motion](https://motion.dev)**: For smooth layout animations.
## Prerequisites
Before starting, ensure you have:
1. **Node.js 18+** installed.
2. An **[Orshot account](https://orshot.com/pricing)** with an API key.
3. A **Polaroid Template** created in Orshot Studio.
> **Tip:** You can clone our ready-to-use polaroid template [here](https://orshot.com/templates/shared/73du84kp/preview?view=play).
## Step-by-Step Implementation
### 1. Setup the Next.js Project
First, clone the repository or create a new Next.js project.```bash
npx create-next-app@latest instant-polaroid
cd instant-polaroid
```Install the necessary dependencies:```bash
npm install framer-motion lucide-react jszip clsx tailwind-merge
```### 2. Configure Environment Variables
Create a `.env` file in the root of your project and add your Orshot credentials.```bash
ORSHOT_API_KEY=your_orshot_api_key
ORSHOT_TEMPLATE_ID=your_template_id
```### 3. Creating the API Route
We need a backend route to securely communicate with the Orshot API. Create a file at `app/api/polaroid/route.js`:```javascript
/* app/api/polaroid/route.js */
import { NextResponse } from "next/server";
export const maxDuration = 60; // Allow longer timeout for generation
export async function POST(request) {
try {
const { image, caption, captionColor } = await request.json();
if (!image) {
return NextResponse.json({ error: "Image is required" }, { status: 400 });
}
const payload = {
templateId: process.env.ORSHOT_TEMPLATE_ID,
modifications: {
photo: image, // The image layer in your template
caption: caption, // The text layer for caption
"caption.color": captionColor, // Modification for text color
},
response: {
format: "png",
type: "base64", // Get the image back directly
},
};
const response = await fetch("https://api.orshot.com/v1/studio/render", {
method: "POST",
headers: {
"Content-Type": "application/json",
Authorization: `Bearer ${process.env.ORSHOT_API_KEY}`,
},
body: JSON.stringify(payload),
});
if (!response.ok) {
throw new Error("Failed to generate image");
}
const data = await response.json();
return NextResponse.json({
image: data.data.content,
});
} catch (error) {
console.error("Generation error:", error);
return NextResponse.json(
{ error: "Internal Server Error" },
{ status: 500 },
);
}
}
```This route receives the user's image (base64 or URL), caption, and color preference, then forwards them to Orshot's generation endpoint.
### 4. Building the Frontend
The frontend consists of a photo upload area and a grid to display generated polaroids.
Key components to implement:
- **Photo Uploader**: Use an `` to accept images.
- **Generation Logic**: Call your `/api/polaroid` endpoint with the selected image data.
- **Display**: Render the returned base64 image in an `` tag.
Here is a simplified snippet of the generation function in your main component:```javascript
const generatePolaroid = async (file, caption) => {
setIsLoading(true);
// Convert file to base64
const reader = new FileReader();
reader.onloadend = async () => {
const base64Image = reader.result;
const response = await fetch("/api/polaroid", {
method: "POST",
body: JSON.stringify({
image: base64Image,
caption: caption,
captionColor: "#000000",
}),
});
const data = await response.json();
if (data.image) {
setPolaroids((prev) => [data.image, ...prev]);
}
setIsLoading(false);
};
reader.readAsDataURL(file);
};
```### 5. Running the App
Start your development server:```bash
npm run dev
```Open [http://localhost:3000](http://localhost:3000). You should now be able to upload a photo and see it transform into a polaroid!
## Conclusion
By leveraging **Orshot's Studio API**, we offloaded the complex image manipulation work (framing, text overlay, texture application) to the cloud. This keeps our Next.js app lightweight and fast, while delivering high-quality visual results.
Check out the [full source code](https://github.com/rishimohan/instant-polaroid) for advanced features like ZIP download, camera capture, and animations.
 ## Overview
The app allows users to:
- **Upload or Capture Photos**: Drag & drop or take a photo directly.
- **Customize**: Add a caption and pick a background color.
- **Generate**: Transform the photo into a polaroid-style image using Orshot.
- **Download**: Save individual polaroids or download all as a ZIP.
You can find the complete open-source code on GitHub:
## Tech Stack
- **[Next.js 15](https://nextjs.org)**: React framework with App Router.
- **[Orshot API](https://orshot.com)**: For generating the polaroid images programmatically.
- **[Tailwind CSS 4](https://tailwindcss.com)**: For styling.
- **[Framer Motion](https://motion.dev)**: For smooth layout animations.
## Prerequisites
Before starting, ensure you have:
1. **Node.js 18+** installed.
2. An **[Orshot account](https://orshot.com/pricing)** with an API key.
3. A **Polaroid Template** created in Orshot Studio.
> **Tip:** You can clone our ready-to-use polaroid template [here](https://orshot.com/templates/shared/73du84kp/preview?view=play).
## Step-by-Step Implementation
### 1. Setup the Next.js Project
First, clone the repository or create a new Next.js project.```bash
npx create-next-app@latest instant-polaroid
cd instant-polaroid
```Install the necessary dependencies:```bash
npm install framer-motion lucide-react jszip clsx tailwind-merge
```### 2. Configure Environment Variables
Create a `.env` file in the root of your project and add your Orshot credentials.```bash
ORSHOT_API_KEY=your_orshot_api_key
ORSHOT_TEMPLATE_ID=your_template_id
```### 3. Creating the API Route
We need a backend route to securely communicate with the Orshot API. Create a file at `app/api/polaroid/route.js`:```javascript
/* app/api/polaroid/route.js */
import { NextResponse } from "next/server";
export const maxDuration = 60; // Allow longer timeout for generation
export async function POST(request) {
try {
const { image, caption, captionColor } = await request.json();
if (!image) {
return NextResponse.json({ error: "Image is required" }, { status: 400 });
}
const payload = {
templateId: process.env.ORSHOT_TEMPLATE_ID,
modifications: {
photo: image, // The image layer in your template
caption: caption, // The text layer for caption
"caption.color": captionColor, // Modification for text color
},
response: {
format: "png",
type: "base64", // Get the image back directly
},
};
const response = await fetch("https://api.orshot.com/v1/studio/render", {
method: "POST",
headers: {
"Content-Type": "application/json",
Authorization: `Bearer ${process.env.ORSHOT_API_KEY}`,
},
body: JSON.stringify(payload),
});
if (!response.ok) {
throw new Error("Failed to generate image");
}
const data = await response.json();
return NextResponse.json({
image: data.data.content,
});
} catch (error) {
console.error("Generation error:", error);
return NextResponse.json(
{ error: "Internal Server Error" },
{ status: 500 },
);
}
}
```This route receives the user's image (base64 or URL), caption, and color preference, then forwards them to Orshot's generation endpoint.
### 4. Building the Frontend
The frontend consists of a photo upload area and a grid to display generated polaroids.
Key components to implement:
- **Photo Uploader**: Use an `` to accept images.
- **Generation Logic**: Call your `/api/polaroid` endpoint with the selected image data.
- **Display**: Render the returned base64 image in an `
## Overview
The app allows users to:
- **Upload or Capture Photos**: Drag & drop or take a photo directly.
- **Customize**: Add a caption and pick a background color.
- **Generate**: Transform the photo into a polaroid-style image using Orshot.
- **Download**: Save individual polaroids or download all as a ZIP.
You can find the complete open-source code on GitHub:
## Tech Stack
- **[Next.js 15](https://nextjs.org)**: React framework with App Router.
- **[Orshot API](https://orshot.com)**: For generating the polaroid images programmatically.
- **[Tailwind CSS 4](https://tailwindcss.com)**: For styling.
- **[Framer Motion](https://motion.dev)**: For smooth layout animations.
## Prerequisites
Before starting, ensure you have:
1. **Node.js 18+** installed.
2. An **[Orshot account](https://orshot.com/pricing)** with an API key.
3. A **Polaroid Template** created in Orshot Studio.
> **Tip:** You can clone our ready-to-use polaroid template [here](https://orshot.com/templates/shared/73du84kp/preview?view=play).
## Step-by-Step Implementation
### 1. Setup the Next.js Project
First, clone the repository or create a new Next.js project.```bash
npx create-next-app@latest instant-polaroid
cd instant-polaroid
```Install the necessary dependencies:```bash
npm install framer-motion lucide-react jszip clsx tailwind-merge
```### 2. Configure Environment Variables
Create a `.env` file in the root of your project and add your Orshot credentials.```bash
ORSHOT_API_KEY=your_orshot_api_key
ORSHOT_TEMPLATE_ID=your_template_id
```### 3. Creating the API Route
We need a backend route to securely communicate with the Orshot API. Create a file at `app/api/polaroid/route.js`:```javascript
/* app/api/polaroid/route.js */
import { NextResponse } from "next/server";
export const maxDuration = 60; // Allow longer timeout for generation
export async function POST(request) {
try {
const { image, caption, captionColor } = await request.json();
if (!image) {
return NextResponse.json({ error: "Image is required" }, { status: 400 });
}
const payload = {
templateId: process.env.ORSHOT_TEMPLATE_ID,
modifications: {
photo: image, // The image layer in your template
caption: caption, // The text layer for caption
"caption.color": captionColor, // Modification for text color
},
response: {
format: "png",
type: "base64", // Get the image back directly
},
};
const response = await fetch("https://api.orshot.com/v1/studio/render", {
method: "POST",
headers: {
"Content-Type": "application/json",
Authorization: `Bearer ${process.env.ORSHOT_API_KEY}`,
},
body: JSON.stringify(payload),
});
if (!response.ok) {
throw new Error("Failed to generate image");
}
const data = await response.json();
return NextResponse.json({
image: data.data.content,
});
} catch (error) {
console.error("Generation error:", error);
return NextResponse.json(
{ error: "Internal Server Error" },
{ status: 500 },
);
}
}
```This route receives the user's image (base64 or URL), caption, and color preference, then forwards them to Orshot's generation endpoint.
### 4. Building the Frontend
The frontend consists of a photo upload area and a grid to display generated polaroids.
Key components to implement:
- **Photo Uploader**: Use an `` to accept images.
- **Generation Logic**: Call your `/api/polaroid` endpoint with the selected image data.
- **Display**: Render the returned base64 image in an `