Build a Polaroid App with Next.js & Orshot API
Learn programmatic image generation by building a polaroid app with Next.js and Orshot. Full source code included.
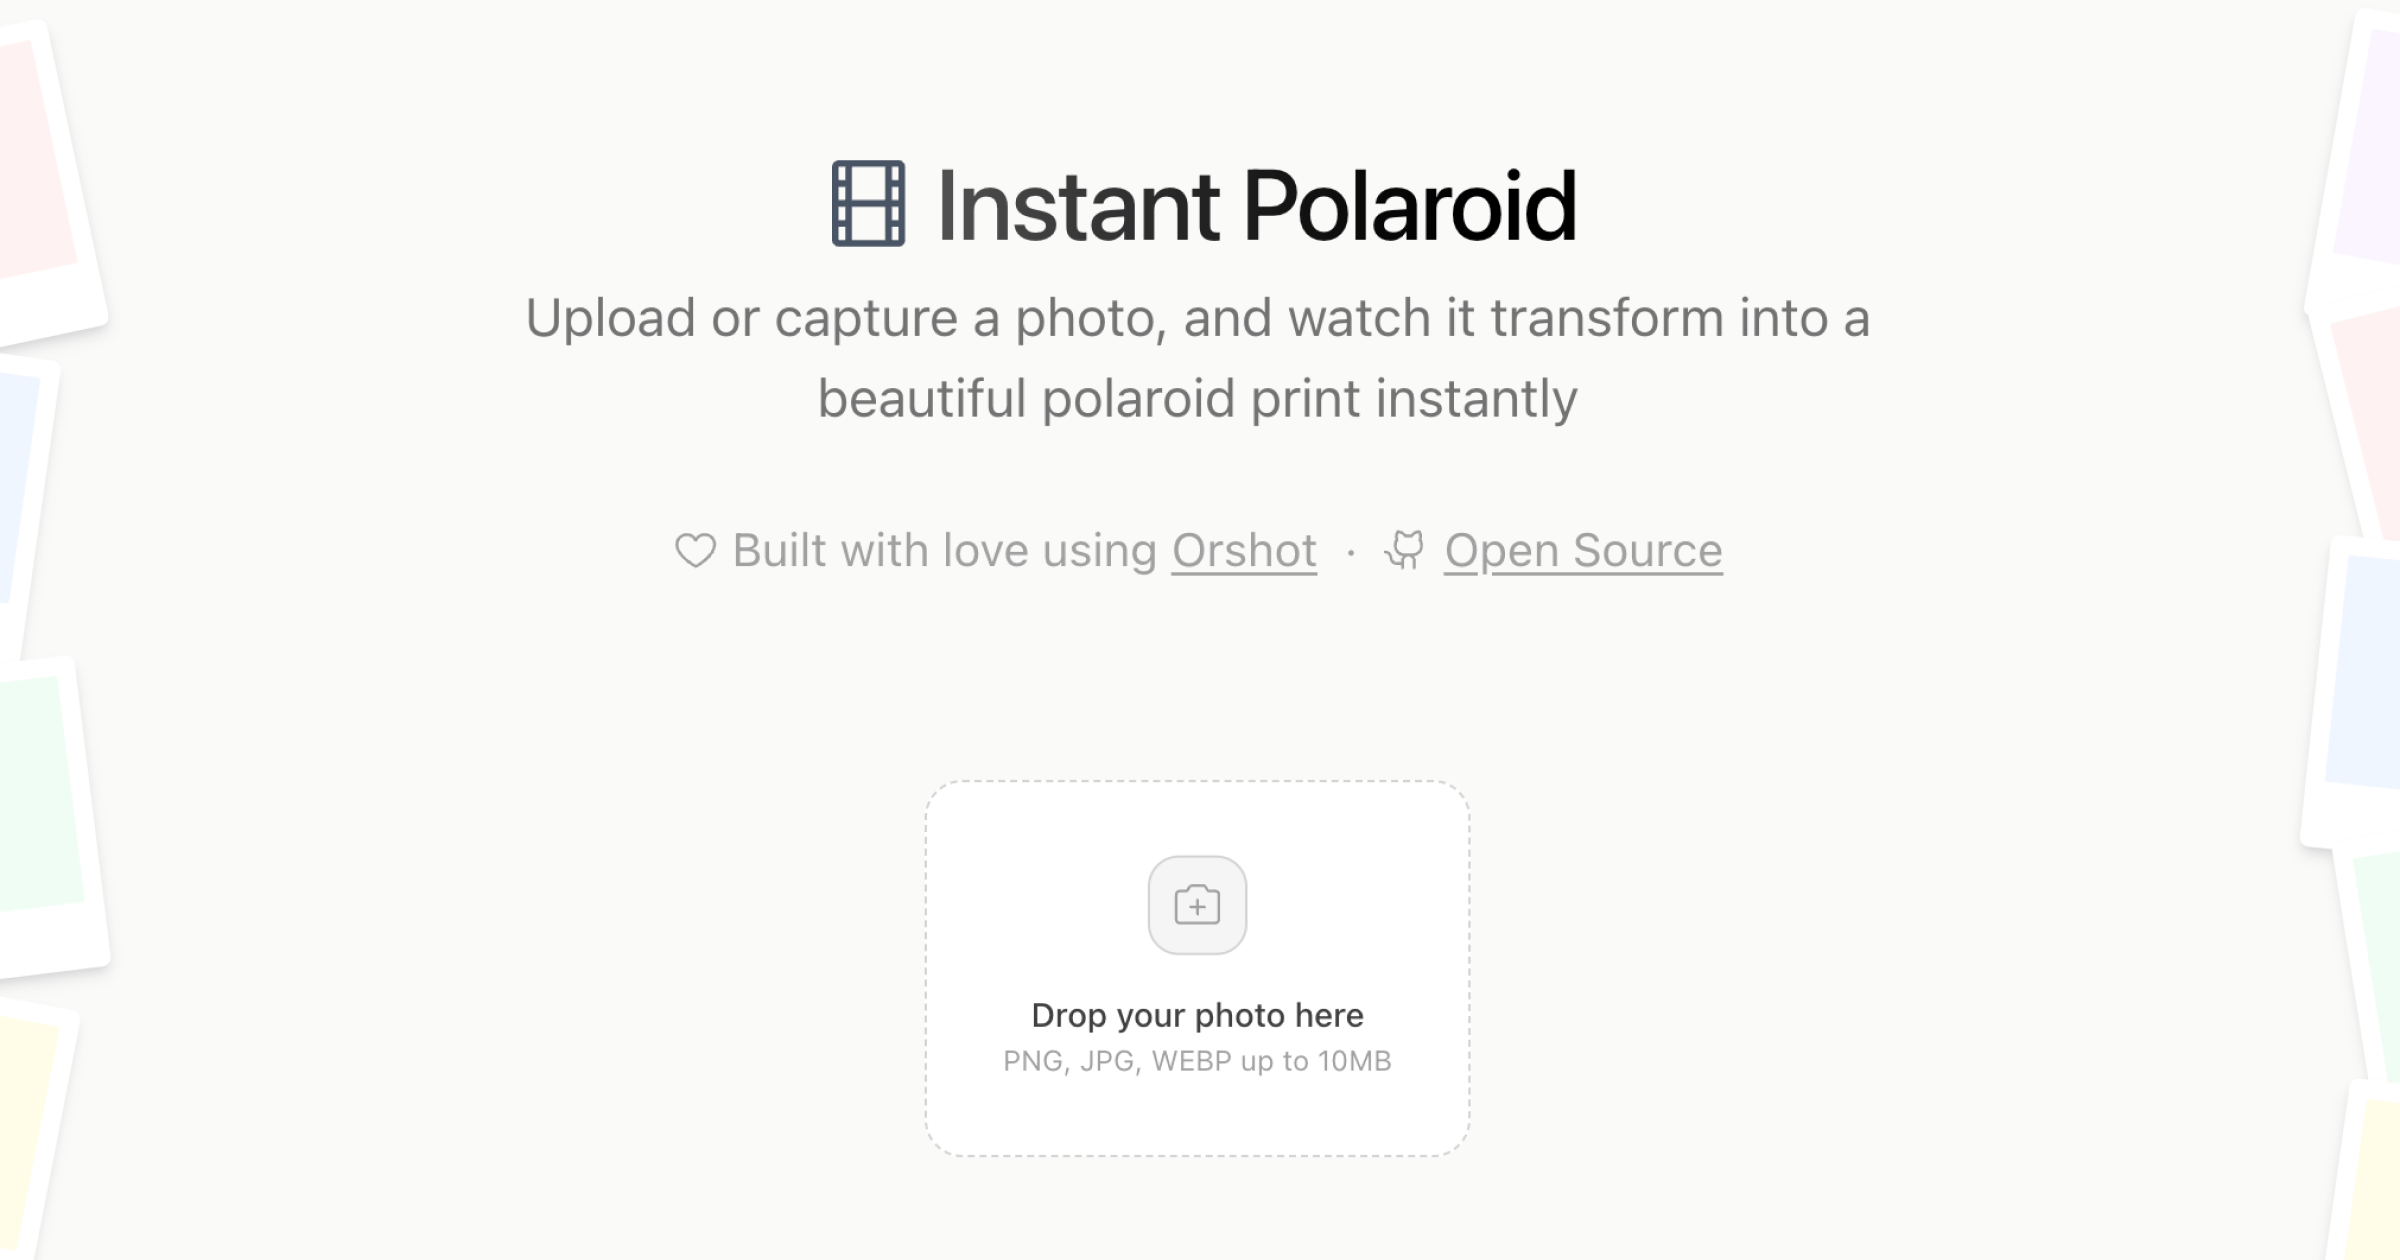
In this tutorial, we'll walk through building Instant Polaroid — a simple, open-source web app that turns your photos into beautiful polaroid prints instantly using the Orshot API.
Overview#
The app allows users to:
- Upload or Capture Photos: Drag & drop or take a photo directly.
- Customize: Add a caption and pick a background color.
- Generate: Transform the photo into a polaroid-style image using Orshot.
- Download: Save individual polaroids or download all as a ZIP.
You can find the complete open-source code on GitHub:
Instant Polaroid Repository
View the full source code and contribute on GitHub.
Tech Stack#
- Next.js 15: React framework with App Router.
- Orshot API: For generating the polaroid images programmatically.
- Tailwind CSS 4: For styling.
- Framer Motion: For smooth layout animations.
Prerequisites#
Before starting, ensure you have:
- Node.js 18+ installed.
- An Orshot account with an API key.
- A Polaroid Template created in Orshot Studio.
Tip: You can clone our ready-to-use polaroid template here.
Step-by-Step Implementation#
1. Setup the Next.js Project#
First, clone the repository or create a new Next.js project.
npx create-next-app@latest instant-polaroid
cd instant-polaroid
Install the necessary dependencies:
npm install framer-motion lucide-react jszip clsx tailwind-merge2. Configure Environment Variables#
Create a .env file in the root of your project and add your Orshot credentials.
ORSHOT_API_KEY=your_orshot_api_key
ORSHOT_TEMPLATE_ID=your_template_id
3. Creating the API Route#
We need a backend route to securely communicate with the Orshot API. Create a file at app/api/polaroid/route.js:
/* app/api/polaroid/route.js */
import { NextResponse } from "next/server";

export const maxDuration = 60; // Allow longer timeout for generation

export async function POST(request) {
  try {
    const { image, caption, captionColor } = await request.json();

    if (!image) {
      return NextResponse.json({ error: "Image is required" }, { status: 400 });
    }

    const payload = {
      templateId: process.env.ORSHOT_TEMPLATE_ID,
      modifications: {
        photo: image, // The image layer in your template
        caption: caption, // The text layer for caption
        "caption.color": captionColor, // Modification for text color
      },
      response: {
        format: "png",
        type: "base64", // Get the image back directly
      },
    };

    const response = await fetch("https://api.orshot.com/v1/studio/render", {
      method: "POST",
      headers: {
        "Content-Type": "application/json",
        Authorization: `Bearer ${process.env.ORSHOT_API_KEY}`,
      },
      body: JSON.stringify(payload),
    });

    if (!response.ok) {
      throw new Error("Failed to generate image");
    }

    const data = await response.json();
    return NextResponse.json({
      image: data.data.content,
    });
  } catch (error) {
    console.error("Generation error:", error);
    return NextResponse.json(
      { error: "Internal Server Error" },
      { status: 500 },
    );
  }
}
This route receives the user's image (base64 or URL), caption, and color preference, then forwards them to Orshot's generation endpoint.
4. Building the Frontend#
The frontend consists of a photo upload area and a grid to display generated polaroids.
Key components to implement:
- Photo Uploader: Use an
<input type="file">to accept images. - Generation Logic: Call your
/api/polaroidendpoint with the selected image data. - Display: Render the returned base64 image in an
<img>tag.
Here is a simplified snippet of the generation function in your main component:
const generatePolaroid = async (file, caption) => {
  setIsLoading(true);

  // Convert file to base64
  const reader = new FileReader();
  reader.onloadend = async () => {
    const base64Image = reader.result;

    const response = await fetch("/api/polaroid", {
      method: "POST",
      body: JSON.stringify({
        image: base64Image,
        caption: caption,
        captionColor: "#000000",
      }),
    });

    const data = await response.json();
    if (data.image) {
      setPolaroids((prev) => [data.image, ...prev]);
    }
    setIsLoading(false);
  };
  reader.readAsDataURL(file);
};
5. Running the App#
Start your development server:
npm run devOpen http://localhost:3000. You should now be able to upload a photo and see it transform into a polaroid!
Conclusion#
By leveraging Orshot's Studio API, we offloaded the complex image manipulation work (framing, text overlay, texture application) to the cloud. This keeps our Next.js app lightweight and fast, while delivering high-quality visual results.
Check out the full source code for advanced features like ZIP download, camera capture, and animations.
Ready to automate?
Start rendering images, PDFs and videos from your templates in under 2 minutes. Free plan, no credit card.
Get your API key- Image, PDF and video generation via API
- Visual editor with AI and smart layouts
- Zapier, Make, MCP and 50+ integrations
- White-label embed for your own app
- 30 free credits — no credit card required