Shopify
Automatically store rendered files in your Shopify store
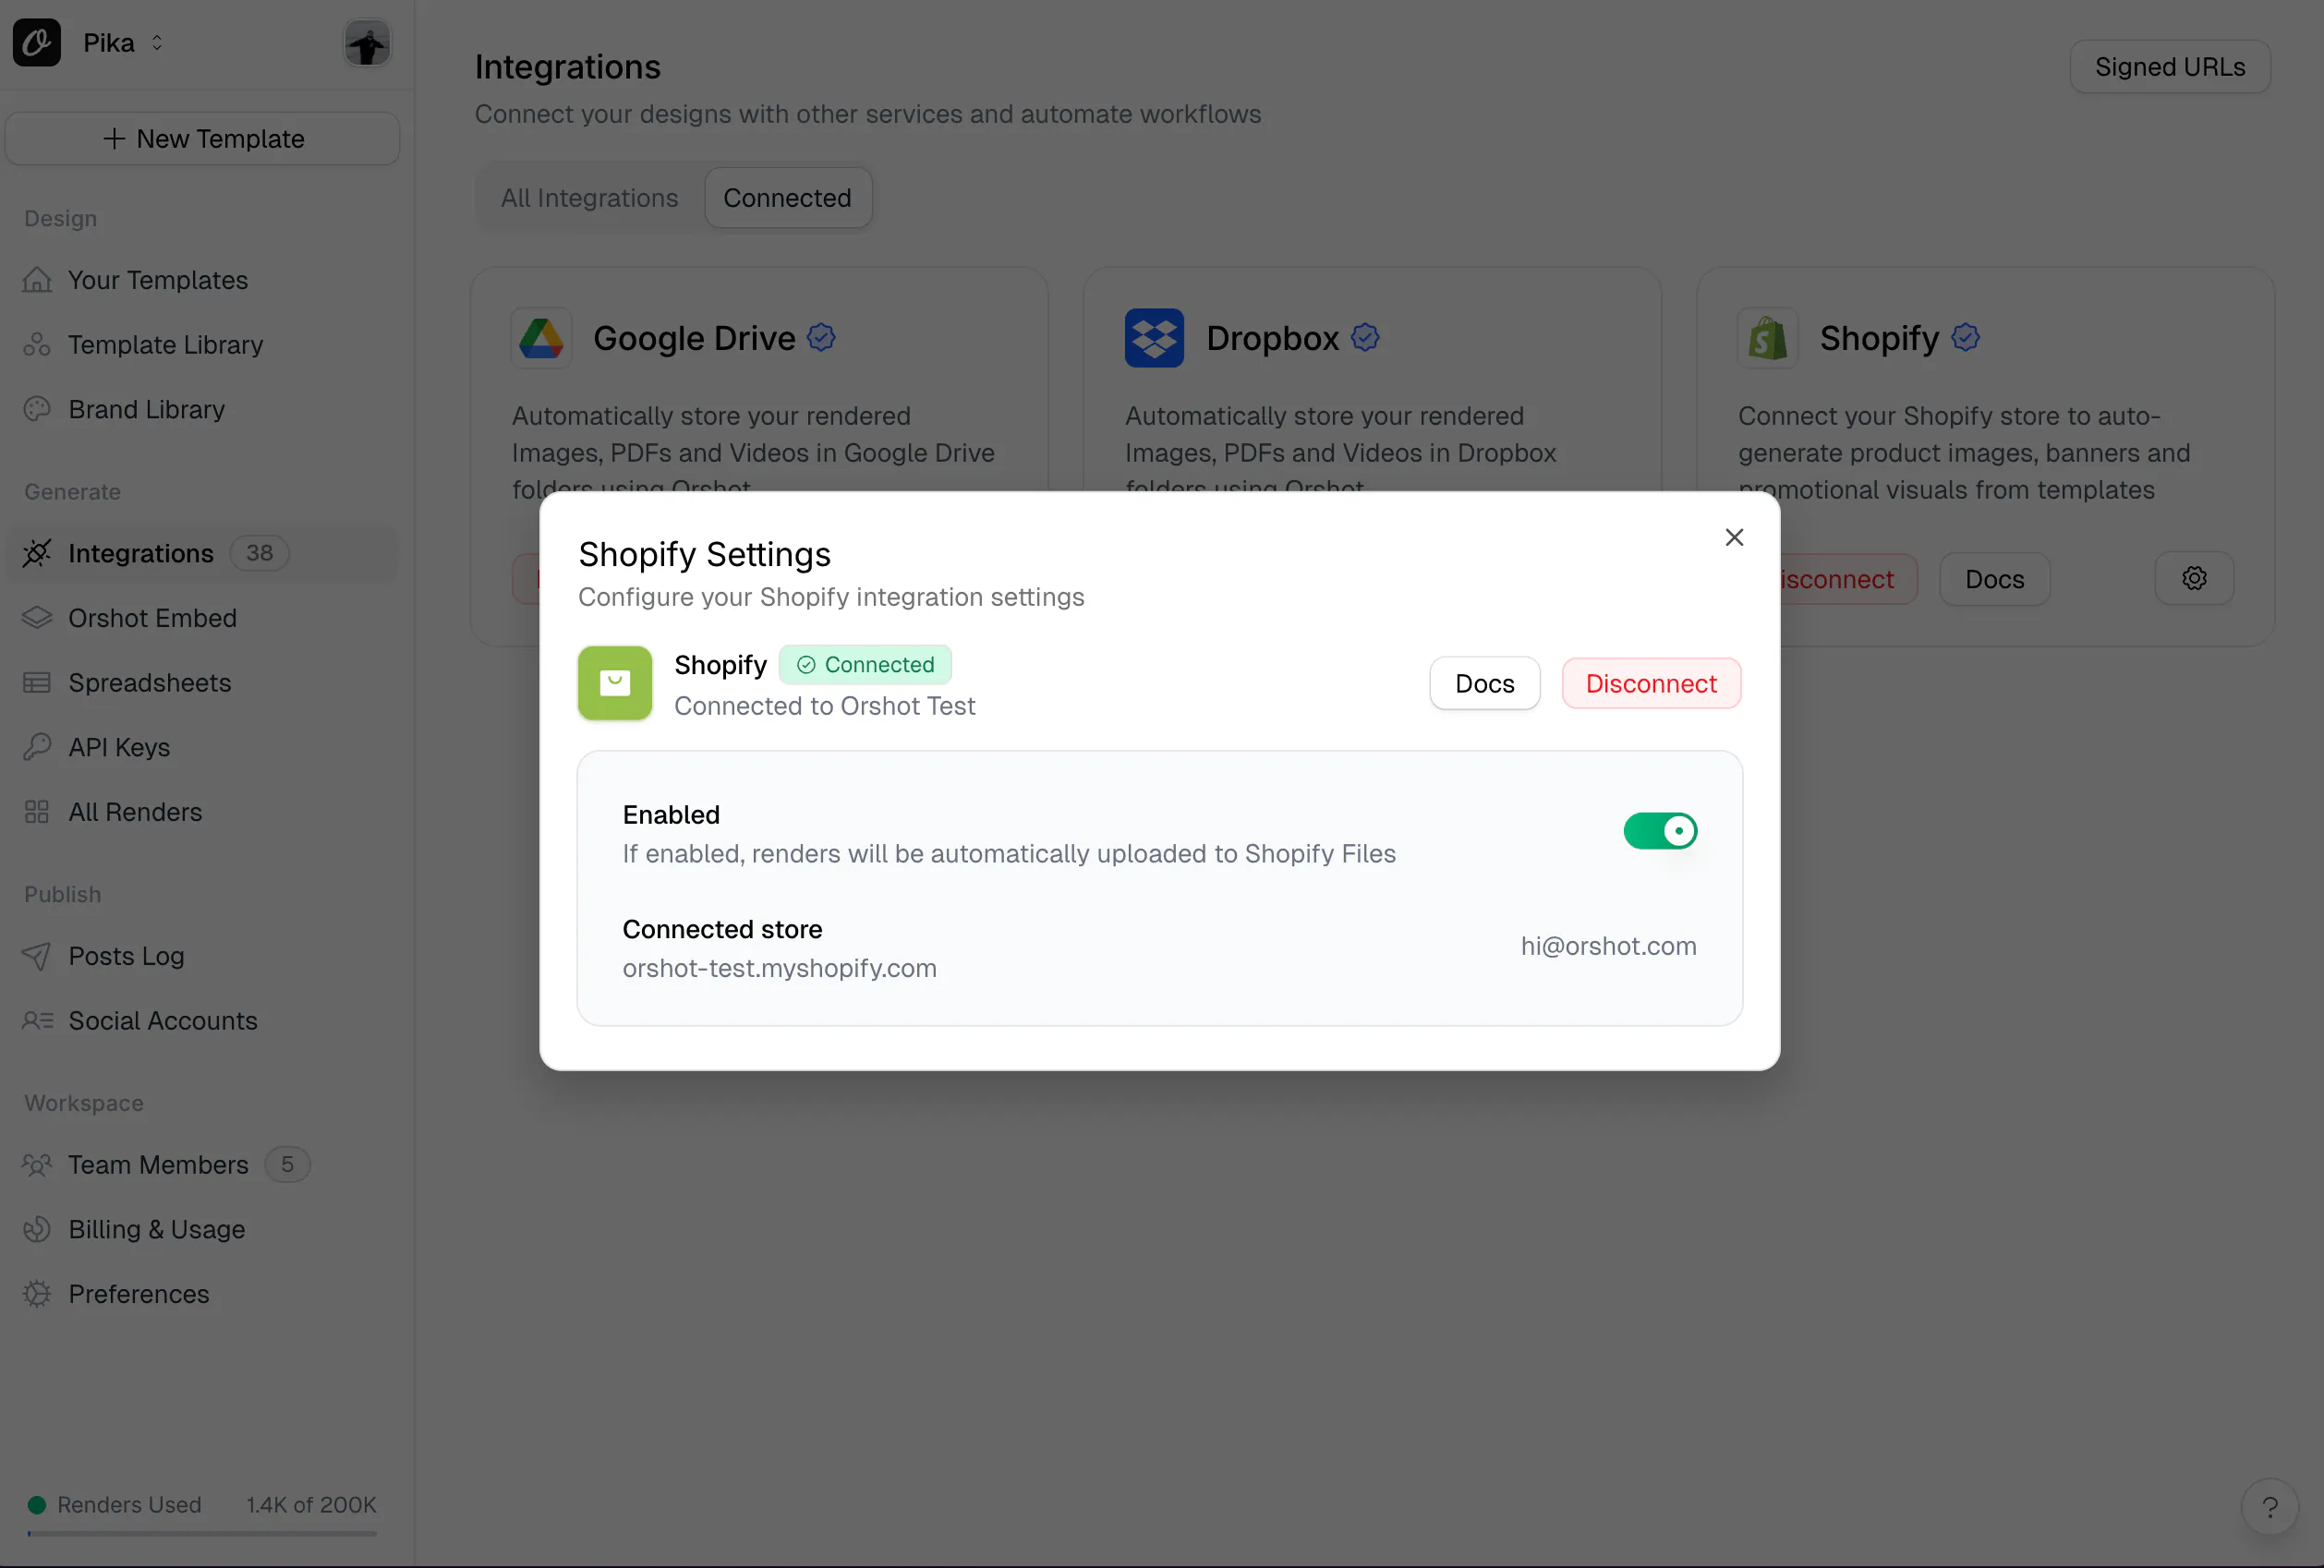
The Orshot Shopify integration allows you to automatically save generated files directly to your Shopify store. Rendered images, videos, and PDFs can be uploaded to Shopify Files (your store's file library) or images can be attached as product images to specific products.
Connecting Shopify#
- Navigate to Workspace > Settings > Storage in your Orshot dashboard
- Click Connect Shopify
- Enter your Shopify store URL (e.g.
my-store.myshopify.com) - You'll be redirected to Shopify to authorize the Orshot app
- After authorizing, you'll be redirected back to Orshot with the connection active
Using Shopify in API Requests#
If Shopify is enabled on the Storage page, all your renders will automatically be uploaded to Shopify Files — no need to add connections in your API request.
To explicitly control the upload or specify custom options, add the connections parameter to your render request:
{
  "templateId": 25,
  "modifications": {
    "headline": "Hello World"
  },
  "response": {
    "type": "url",
    "format": "png"
  },
  "connections": [
    {
      "type": "storage",
      "provider": "shopify"
    }
  ]
}
Uploading as a Product Image#
To attach the rendered file as an image on a specific Shopify product, use the folder parameter with the format product:<productId>:
{
  "connections": [
    {
      "type": "storage",
      "provider": "shopify",
      "folder": "product:8234567890"
    }
  ]
}
This uploads the rendered image directly to the specified product's image gallery.
Uploading to Shopify Files#
By default (without a folder), files are uploaded to your store's Shopify Files library — accessible under Content > Files in your Shopify admin:
{
  "connections": [
    {
      "type": "storage",
      "provider": "shopify"
    }
  ]
}
Custom File Names#
Use response.fileName to set a custom name for the uploaded file:
{
  "templateId": 25,
  "modifications": { "headline": "Hello" },
  "response": {
    "type": "url",
    "format": "png",
    "fileName": "summer-sale-banner"
  },
  "connections": [
    {
      "type": "storage",
      "provider": "shopify"
    }
  ]
}
Disabling Auto-Upload#
If Shopify is enabled in your workspace but you want to skip the upload for a specific render, explicitly disable it:
{
  "templateId": 25,
  "modifications": { "headline": "Hello" },
  "response": { "type": "url", "format": "png" },
  "connections": [
    {
      "provider": "shopify",
      "disabled": true
    }
  ]
}
Auto-Generate Product Images#
You can automatically generate product images every time a new product is added to your Shopify store by combining Orshot Webhooks with Shopify's built-in webhook notifications.
How It Works#
- A product is created or updated in your Shopify store
- Shopify sends a webhook to Orshot with the product data
- Orshot renders your template using the product data (name, image, price, etc.)
- With Shopify connection enabled, the rendered image is automatically uploaded back to your Shopify store
Setup#
1. Design Your Template
Create a product image template in Orshot Studio and parameterize the fields that will change per product — such as product name, product image, price, discount, etc.
2. Create a Webhook in Orshot
Go to your template's playground, open the Webhooks tab, and click Add New. Copy the generated webhook URL:
https://api.orshot.com/v1/studio/webhook/wh_yourWebhookId3. Register the Webhook in Shopify
In your Shopify admin, go to Settings > Notifications > Webhooks and create a new webhook:
- Event: Product creation (or Product update)
- Format: JSON
- URL: Paste the Orshot webhook URL from step 2
4. Map Fields
Back in Orshot, trigger the webhook once by creating a test product in Shopify. Orshot will auto-detect the available fields from the Shopify payload. Then map them to your template parameters:
| Shopify Field | Example Template Parameter |
|---|---|
title | productName |
images.0.src | productImage |
variants.0.price | salePrice |
variants.0.compare_at_price | originalPrice |
product_type | category |
5. Enable Shopify Connection
Make sure your Shopify connection is enabled on the Storage page. Rendered images will automatically upload to Shopify Files. To upload directly as product images, use the API with folder: "product:<productId>" instead.
Using No-Code Automation#
You can also set this up without webhooks using tools like Zapier, Make, or n8n:
- Trigger: Shopify — New Product Created
- Action: Orshot — Render Studio Template (map Shopify product fields to template parameters)
- Action: Upload or share the generated image wherever you need it
API Response Examples#
Successful Upload#
{
  "data": {
    "content": "https://store.orshot.com/cloud/w-50/renders/images/abc123.png",
    "type": "url",
    "format": "png",
    "responseTime": "1.2s"
  },
  "connections": [
    {
      "type": "storage",
      "provider": "shopify",
      "path": "shopify-files/summer-sale-banner-x8kLm.png",
      "status": "success"
    }
  ]
}
Product Image Upload#
{
  "data": {
    "content": "https://store.orshot.com/cloud/w-50/renders/images/abc123.png",
    "type": "url",
    "format": "png",
    "responseTime": "1.5s"
  },
  "connections": [
    {
      "type": "storage",
      "provider": "shopify",
      "path": "https://cdn.shopify.com/s/files/1/shop-id/products/abc123.png",
      "status": "success"
    }
  ]
}
Upload Failed (with Warning)#
Connection issues return warnings but don't block the render:
{
  "data": {
    "content": "https://store.orshot.com/cloud/w-50/renders/images/abc123.png",
    "type": "url",
    "format": "png",
    "responseTime": "1.2s"
  },
  "warnings": [
    {
      "title": "Failed to upload to shopify: Access denied",
      "details": ""
    }
  ],
  "connections": [
    {
      "type": "storage",
      "provider": "shopify",
      "path": null,
      "status": "error",
      "error": "Access denied"
    }
  ]
}
Shopify Not Connected#
{
  "data": {
    "content": "https://store.orshot.com/cloud/w-50/renders/images/abc123.png",
    "type": "url",
    "format": "png"
  },
  "warnings": [
    {
      "title": "Shopify connection not found for this workspace",
      "details": ""
    }
  ]
}
Connection Parameters#
| Parameter | Type | Required | Description |
|---|---|---|---|
type | string | Yes | Must be "storage" |
provider | string | Yes | Must be "shopify" |
folder | string | No | Use "product:<productId>" to upload as a product image. Omit to upload to Shopify Files library |
Notes#
- Non-blocking: Shopify upload failures won't block your render—you'll still get the image URL
- Permanent tokens: Shopify uses permanent access tokens, so you won't need to re-authorize
- Two upload modes: Files go to Shopify Files by default, or use
product:<id>to attach as product images - Supported formats: PNG, JPG, JPEG, WebP, GIF, MP4, WebM, and PDF
Need Help?#
- Contact support at hi@orshot.com or use the chat button in your Orshot dashboard
Ready to automate?
Start rendering images, PDFs and videos from your templates in under 2 minutes. Free plan, no credit card.
Get your API key- Image, PDF and video generation via API
- Visual editor with AI and smart layouts
- Zapier, Make, MCP and 50+ integrations
- White-label embed for your own app
- 30 free credits — no credit card required