Design Your First Template
Create a reusable template in Orshot Studio with dynamic text, images, and styles
Templates are reusable designs with dynamic parts. Design once, then generate thousands of variations by changing the text, images, or colors each time.
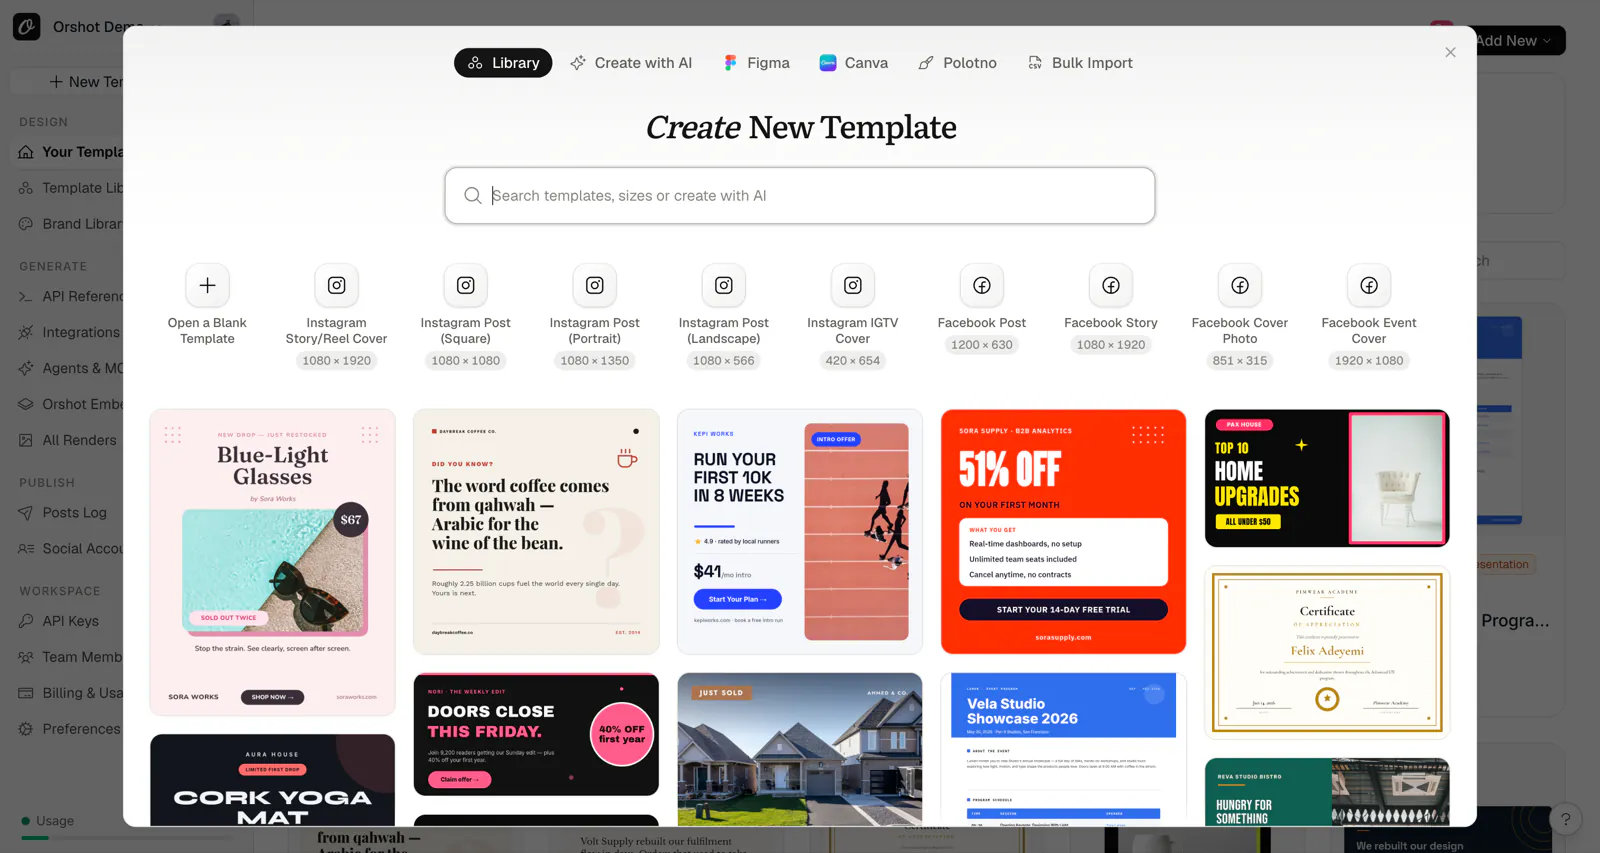
Step 1: Open Orshot Studio#
- Log in to your Orshot account
- Go to Orshot Studio
- Click Create New Template (or pick one from the template library)
Step 2: Set Up Your Canvas#
Choose dimensions based on where you'll use the image:
| Use Case | Dimensions (px) |
|---|---|
| Social Media Post | 1200 x 630 |
| Instagram Post | 1080 x 1080 |
| Twitter Header | 1500 x 500 |
| Certificate | 1920 x 1080 |
Step 3: Add Elements#
Text: Press T or click the Text tool, then click on canvas to add text.
Images: Press I or click the Image tool to upload images or use from your Assets Library.
Shapes: Add rectangles, circles, or arrows to enhance your design.
Step 4: Make Elements Dynamic#
This is what makes templates powerful — any element can become a parameter that you change via the API:
- Select a text or image element
- Open the API tab in the right panel and turn on Parameterize
- Give it a clear ID like
title,userName, orproductImage
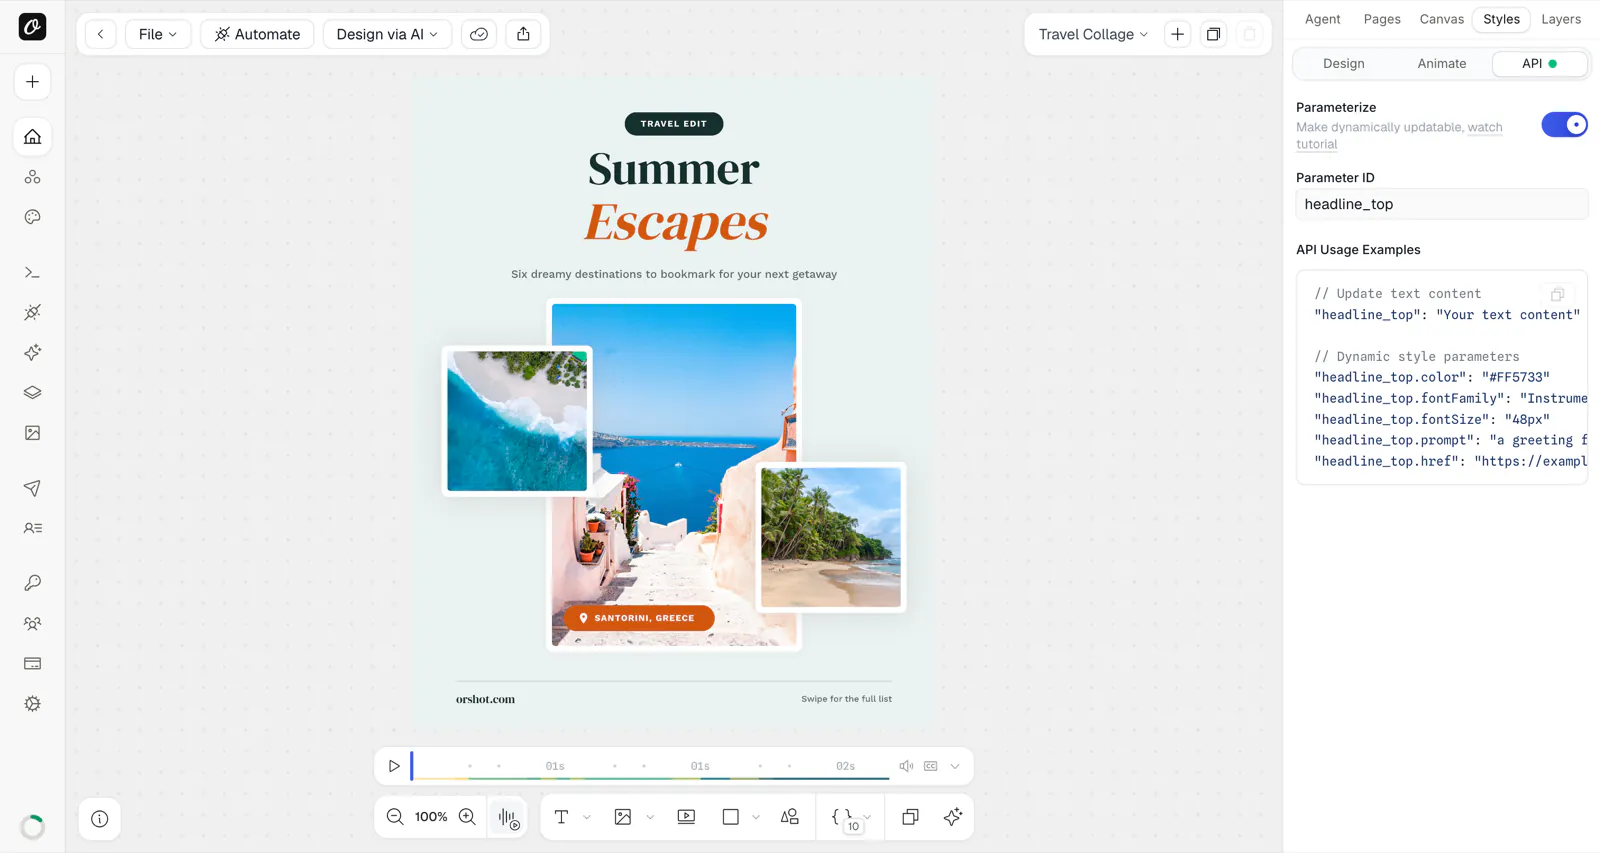
When you call the API, you'll pass these parameter IDs in the modifications object to change the content. Learn more about parameters →
Step 5: Save Your Template#
- Click Save in the top right
- Give it a descriptive name
- Click Save Template
That's it! Your template is ready to use.
Tips for Better Templates#
- Use clear parameter names like
customerNameinstead oftext1 - Test with long text in the Playground to make sure nothing overflows
- Start simple — you can always add more elements later
- Use the template library for inspiration
Next Step#
Your template is ready — now generate your first image:
For advanced template features:
Ready to automate?
Start rendering images, PDFs and videos from your templates in under 2 minutes. Free plan, no credit card.
Get your API key- Image, PDF and video generation via API
- Visual editor with AI and smart layouts
- Zapier, Make, MCP and 50+ integrations
- White-label embed for your own app
- 30 free credits — no credit card required