You have 40 active listings. Each one needs an Instagram post, a Facebook ad, an "Open House" story, and a "Just Sold" graphic. That's 160+ images—before you even think about seasonal promotions or price updates
Doing this manually eats hours. Doing it with Orshot takes seconds per listing
This guide shows you how to automate real estate property listing visuals for Instagram and Facebook using Orshot's templates and API
Relevant → Auto-generate Real Estate Banners
What You'll Build
An automation that takes your property data (address, price, photos, bedrooms, etc.) and generates ready-to-post social media visuals—automatically
- New Listing → Instagram post + Facebook ad generated instantly
- Price Change → All visuals update automatically
- Sold/Closed → "Just Sold" graphic generated and ready to post
Bonus: Post Directly with Social Publish
With Orshot Social Publish, you can skip the manual posting step entirely. Add a publish object to your API call and Orshot posts the generated image directly to Instagram, Facebook, LinkedIn, or any of 15+ supported platforms. No Buffer, no Zapier — just render and post.
What You'll Need
- Orshot Account (Free Trial): For real estate templates and dynamic image generation API
- Property data source (Google Sheets, CRM, MLS export, or database)
- Optional: n8n, Make, or Zapier for no-code automation
Step 1: Pick a Real Estate Template
Orshot has ready-to-use real estate templates designed for social media. Browse the collection and pick one that fits your brand
Here's a property sale banner template you can copy to your workspace and start using right away:
Or build your own from scratch using Orshot Studio. You can also import existing designs from Canva or Figma
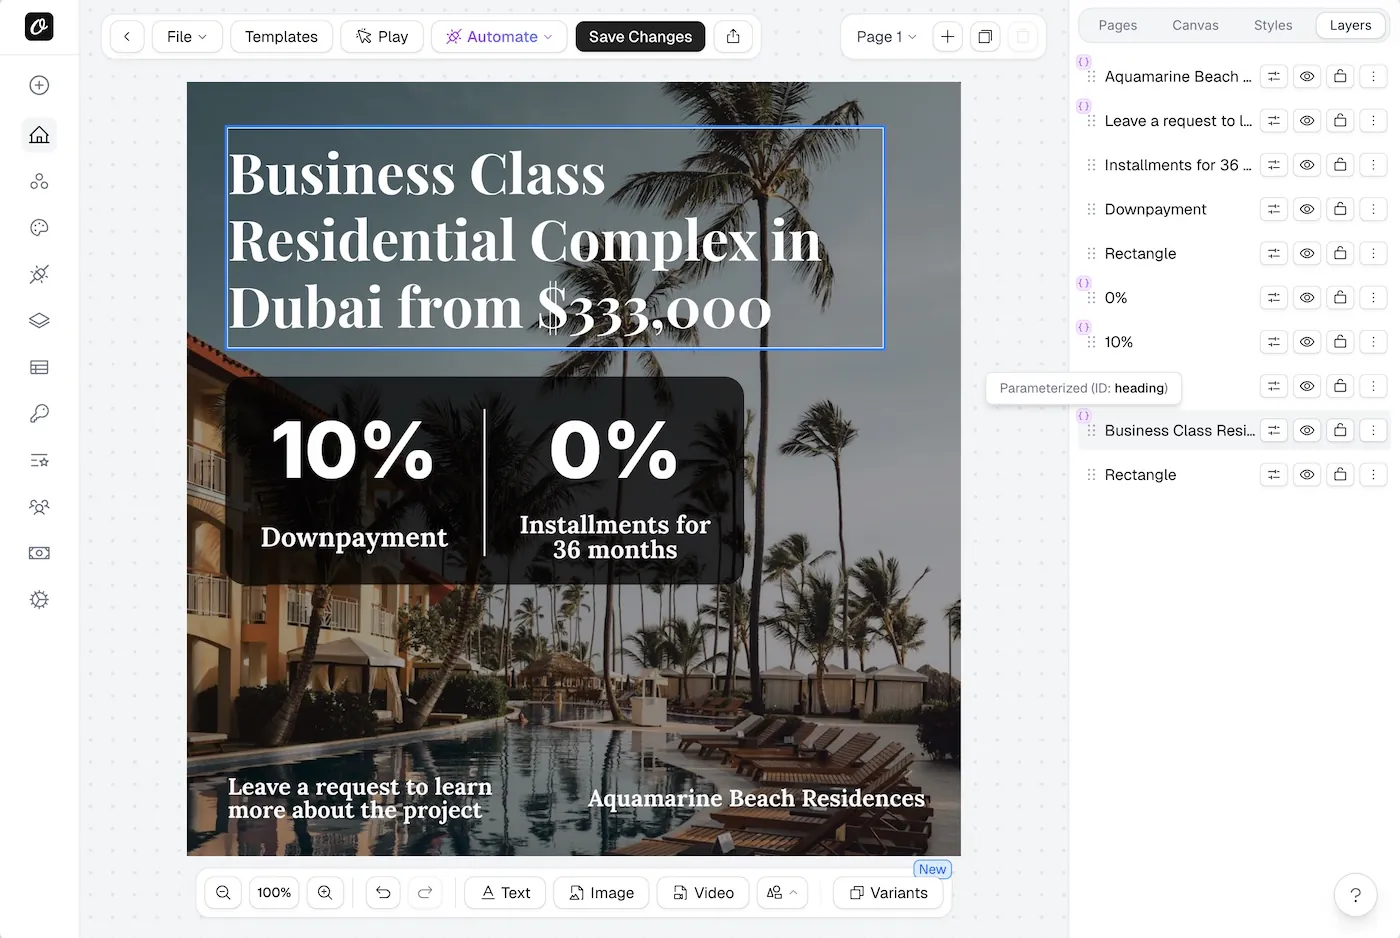
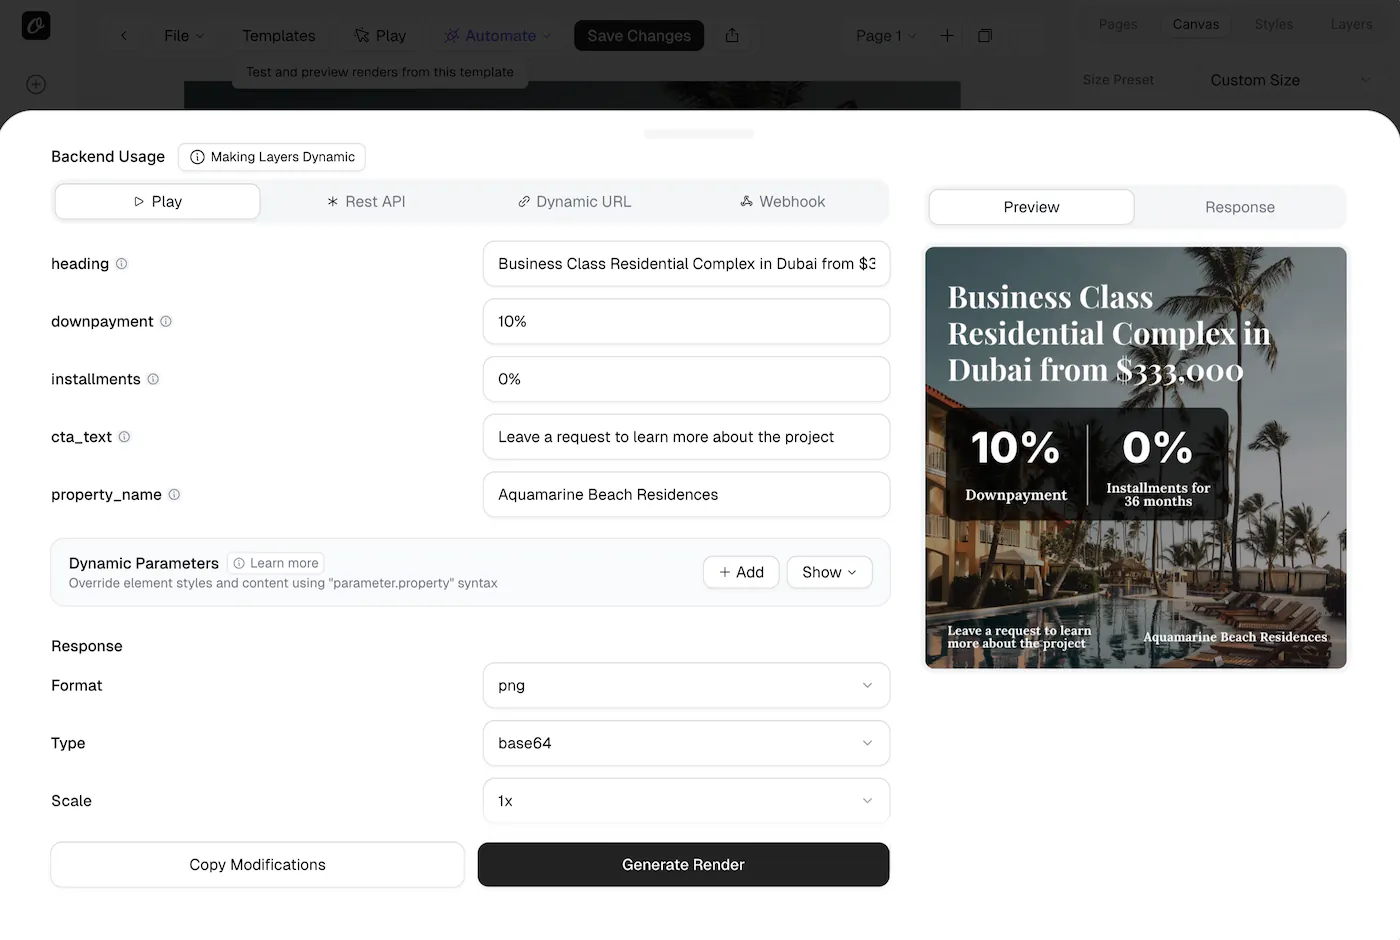
Step 2: Parameterize Your Template
Open your template in Orshot Studio and make the dynamic fields parameterizable. For a typical property listing, you'll want:
| Field | Parameter Key | Example Value |
|---|---|---|
| Property Image | propertyImage | https://mls.com/photo-123.jpg |
| Price | price | $875,000 |
| Address | address | 123 Oak Avenue, Austin TX |
| Bedrooms | bedrooms | 4 |
| Bathrooms | bathrooms | 3 |
| Square Footage | sqft | 2,400 sq ft |
| Agent Name | agentName | Sarah Johnson |
| Status Badge | status | Just Listed |
To parameterize a field:
- Select the layer in Orshot Studio
- Toggle "Parameterize" in the properties panel
- Assign the parameter key
Once saved, this template becomes an API endpoint. Every property listing can now generate a unique image by passing different data to the same template
Step 3: Generate Listing Images with the API
With your template ready, generate images by sending property data to Orshot's Image Generation API
API Endpoint
POST https://api.orshot.com/v1/studio/renderJavaScript Example
async function generateListingImage(property) {
  const response = await fetch("https://api.orshot.com/v1/studio/render", {
    method: "POST",
    headers: {
      "Content-Type": "application/json",
      Authorization: "Bearer YOUR_API_KEY",
    },
    body: JSON.stringify({
      templateId: "YOUR_TEMPLATE_ID",
      modifications: {
        propertyImage: property.photo_url,
        price: property.price,
        address: property.address,
        bedrooms: `${property.beds} Beds`,
        bathrooms: `${property.baths} Baths`,
        sqft: `${property.sqft} sq ft`,
        agentName: property.agent,
        status: "Just Listed",
      },
      response: {
        type: "url",
        format: "png",
      },
    }),
  });

  const result = await response.json();
  return result.content; // Image URL ready to post
}

// Example usage
const listing = {
  photo_url: "https://images.mls.com/property-456.jpg",
  price: "$875,000",
  address: "123 Oak Avenue, Austin TX",
  beds: 4,
  baths: 3,
  sqft: "2,400",
  agent: "Sarah Johnson",
};

const imageUrl = await generateListingImage(listing);
console.log(`Listing image: ${imageUrl}`);
Python Example
import requests

def generate_listing_image(property_data):
    url = "https://api.orshot.com/v1/studio/render"

    payload = {
        "templateId": "YOUR_TEMPLATE_ID",
        "modifications": {
            "propertyImage": property_data["photo_url"],
            "price": property_data["price"],
            "address": property_data["address"],
            "bedrooms": f"{property_data['beds']} Beds",
            "bathrooms": f"{property_data['baths']} Baths",
            "sqft": f"{property_data['sqft']} sq ft",
            "agentName": property_data["agent"],
            "status": "Just Listed"
        },
        "response": {
            "type": "url",
            "format": "png"
        }
    }

    response = requests.post(url, json=payload, headers={
        "Authorization": "Bearer YOUR_API_KEY",
        "Content-Type": "application/json"
    })

    return response.json()["content"]

# Generate for a single listing
listing = {
    "photo_url": "https://images.mls.com/property-456.jpg",
    "price": "$875,000",
    "address": "123 Oak Avenue, Austin TX",
    "beds": 4,
    "baths": 3,
    "sqft": "2,400",
    "agent": "Sarah Johnson"
}

image_url = generate_listing_image(listing)
print(f"Listing image: {image_url}")
Batch Generation for Multiple Listings
When you have dozens of listings to process at once:
def generate_all_listing_images(listings):
    results = []
    for listing in listings:
        try:
            url = generate_listing_image(listing)
            results.append({
                "address": listing["address"],
                "image_url": url,
                "status": "success"
            })
        except Exception as e:
            results.append({
                "address": listing["address"],
                "status": "failed",
                "error": str(e)
            })
    return results
Step 4: Automate with No-Code (Make / n8n / Zapier)
Prefer not to write any code? Use no-code platforms to connect your data source directly to Orshot
Explore integrations: Orshot Integrations
Example Workflow with Make
- Trigger: New row added to Google Sheets (or CRM webhook)
- Action 1: Orshot — Generate image from studio template
- Action 2: Save image URL back to Google Sheets
- Action 3 (optional): Post to Instagram/Facebook via Buffer or Meta API
Example Workflow with n8n
- Google Sheets Trigger: New property row added
- Orshot Node: Generate listing image with property data mapped to template parameters
- Google Drive Node: Save the generated image
- Slack/Email Node: Notify the agent with the image link
Learn more: n8n Integration Docs · Make Integration Docs · Zapier Integration Docs
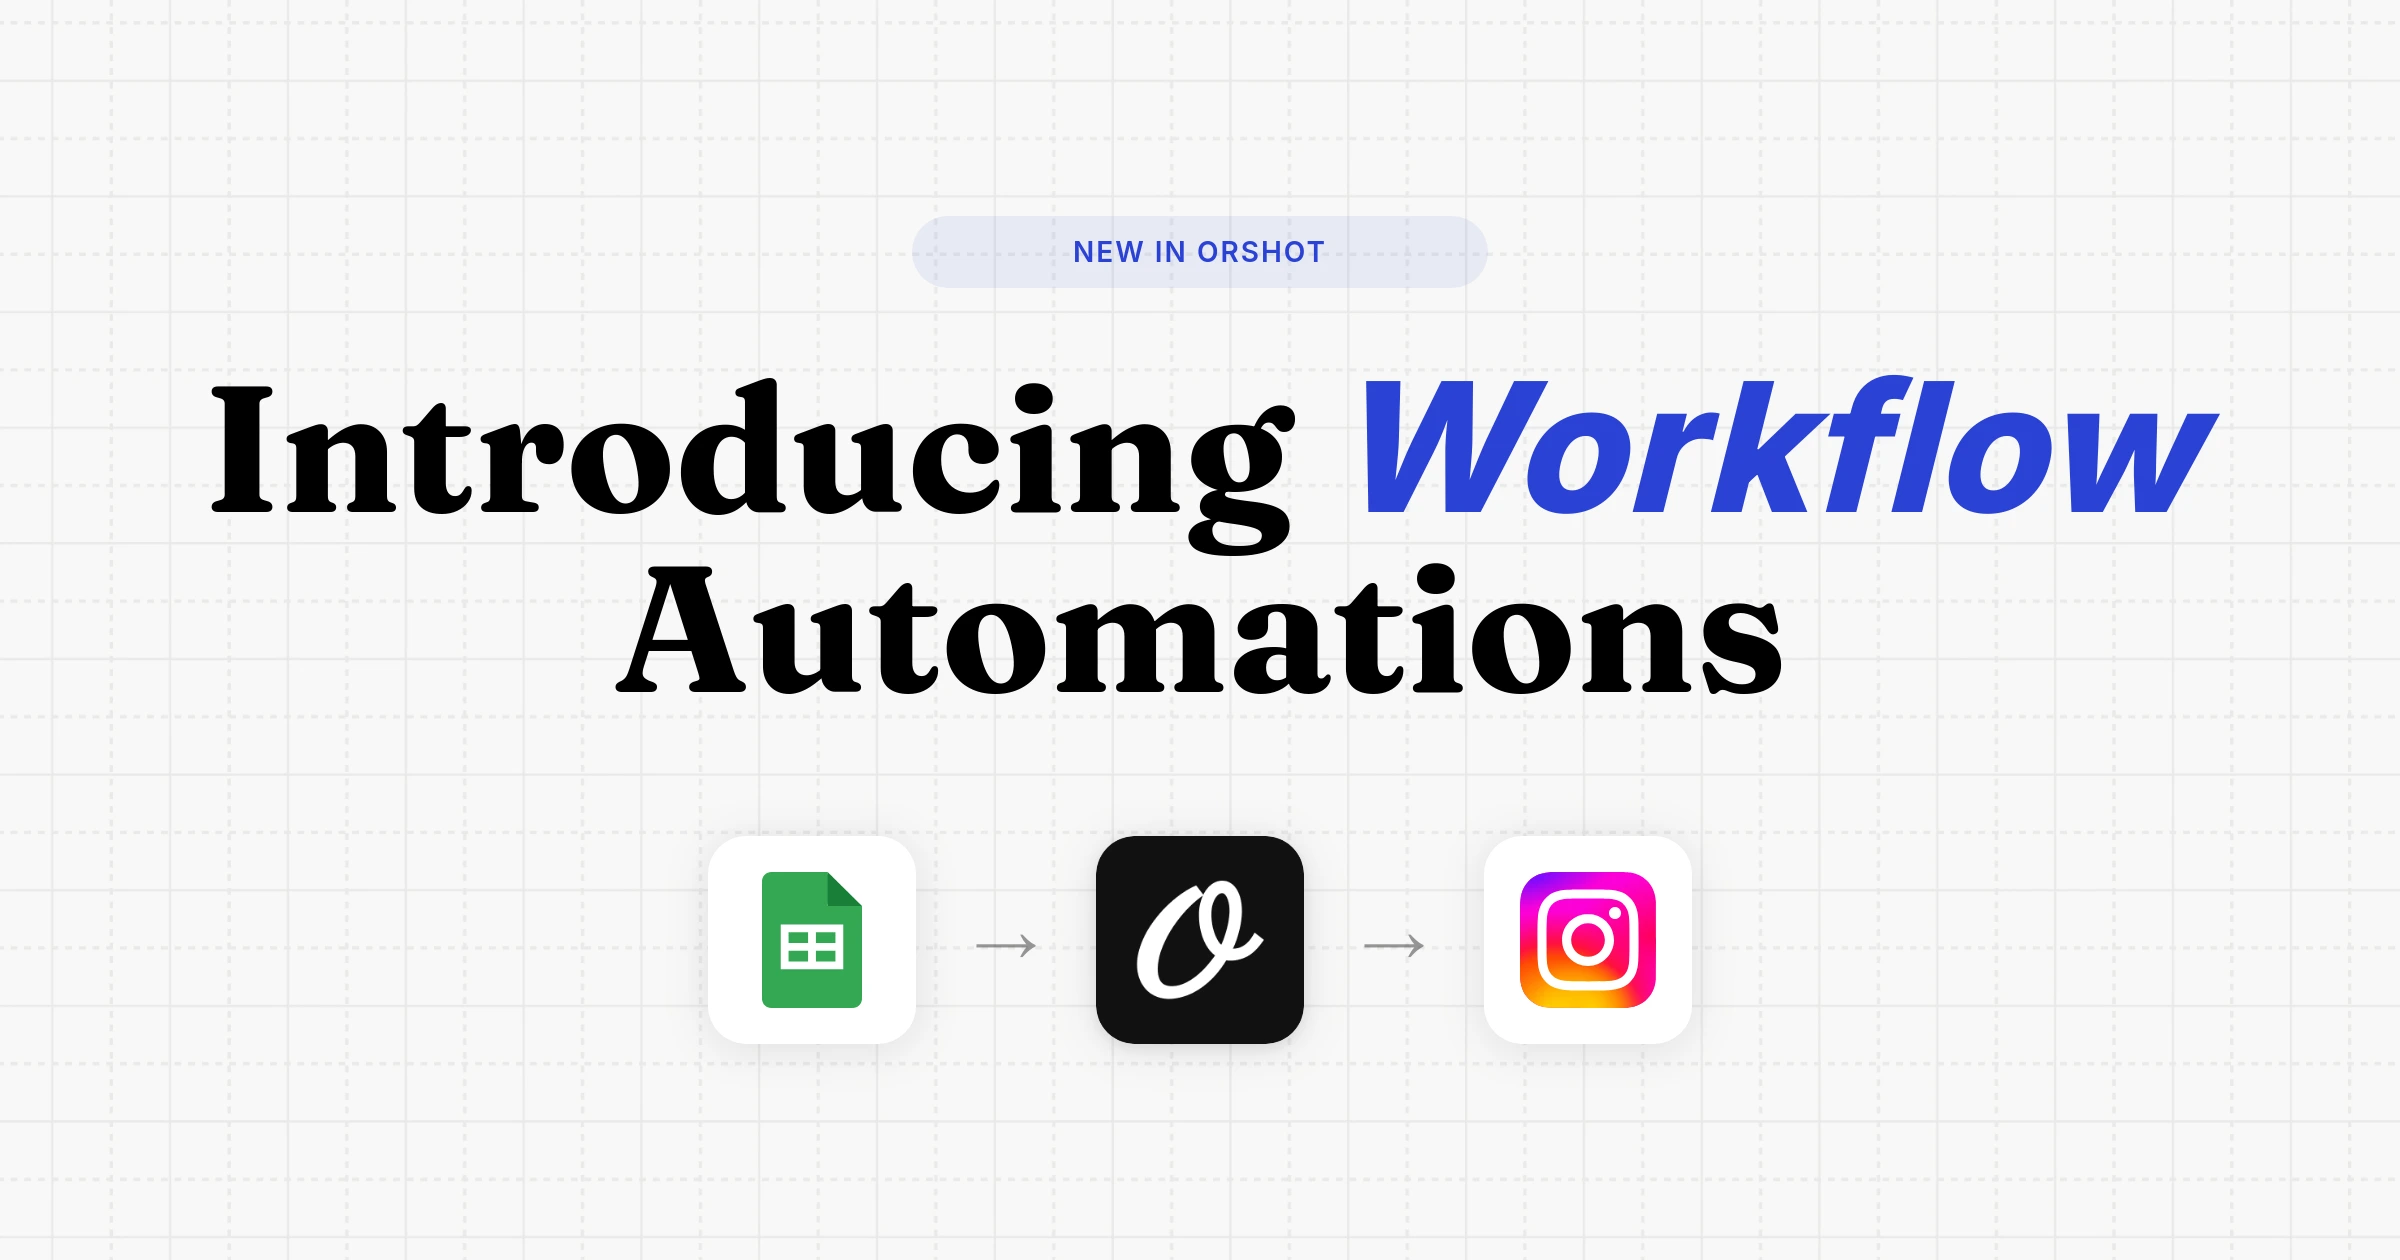
Before you open Make or n8n, know that this exact setup already exists as a ready-made Orshot workflow: a new row in your Google Sheet triggers a listing card render, and the result gets posted to Instagram. Adding it to your workspace takes one click, with every step connected for you
Dynamic URLs: The Simplest Approach
For email campaigns or landing pages, use Dynamic URLs to generate listing images without any backend code:
https://orshot.com/v1/studio/dynamic-url/property-listing.png?price=$875,000&address=123+Oak+Avenue&bedrooms=4+Beds&status=Just+ListedChange the URL parameters, and the image updates instantly. Use this in:
- Property alert emails (unique image per listing)
- MLS website embeds
- Facebook dynamic ads
Why This Works for Real Estate
- Speed: Generate a listing image in under 3 seconds
- Consistency: Every listing follows your brand guidelines via Brand Assets Library
- Scale: 10 listings or 1,000—same effort
- Multi-format: Generate Instagram square (1080×1080), Facebook ad (1200×628), and Story (1080×1920) from the same data
- Always current: Price change? Regenerate the image with updated data instantly
Common Questions
Getting Started
- Browse templates: Start with a real estate template or design your own in Orshot Studio
- Parameterize fields: Mark property data fields as dynamic
- Connect your data: Use the API, no-code integrations, or Dynamic URLs
- Automate: Set up workflows so every new listing automatically gets professional visuals
Stop spending hours on Canva for every listing. Design one template, generate images for every property in your portfolio automatically