





← All Workflows

Personalize email header images per recipient

Drop each recipient's name or offer into a hero image for higher email engagement.

See all workflows
Trigger1On a scheduleRun automatically at a set frequency.
Source2Google SheetsRead rows from a spreadsheet.
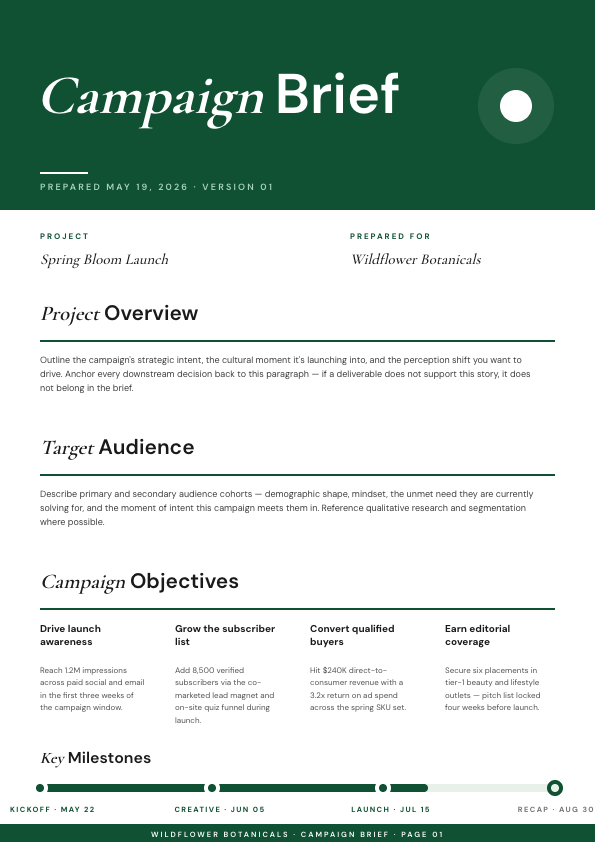
Render3Deep Navy and Bright Cyan Bold Geometric Digital Marketing Agency Instagram Square Post with Pacifico Script Kicker, Anton Display Headline, Circular Hero Photo in Cyan Ring and Modular Block DecorationsExample template. Swap in your own design.
Destination4Orshot URLKeep the render available at a URL.

A header image made for each person on the list

A header image that greets someone by name gets noticed in a way a generic banner never does. Making one per person by hand does not scale, so most emails ship the same banner to everyone. This workflow renders a personal header for each recipient from a spreadsheet and hands back a hosted image URL for every one.

How the header gets personal

  1. List your recipients. Each row in your Google Sheet is one person, with the name, company, and offer you want their header to show.
  2. Set it to run. On the schedule you pick, the workflow reads the rows and renders a header image from your template for each one.
  3. Every row gets its own image. The name, company, and offer land on the design, and long names auto-fit the same layout as short ones.
  4. You get back a URL. Each render returns a hosted Orshot image URL. Nothing is emailed. The workflow makes the images, and you decide where they go.
One row becomes one headerClick a row
ANameBCompanyCOffer
1Priya SharmaNorthwind Co.20% off your first month
2Marcus LeeLumen LabsFree onboarding call
3Ana TorresHarbor & KinEarly access to v2
Orshot renders
Header
Priya Sharma
CompanyNorthwind Co.
Offer20% off your first month
PNG

Rendered from row 1, one per row

Where the URL goes

The hosted URL works anywhere an image link does:

  • Your email tool's header slot, so the banner in that send is the personalized one for that recipient.
  • Matched to a person by the row's name or email column, so the right image lands with the right send.
  • Reused elsewhere, like a landing page or an ad, if you want the same graphic outside the inbox.

The workflow stops at the URL on purpose. It renders the images, and your email platform does the sending.


How it works, step by step

  1. Design a header template

    Build an image template in the studio with placeholders for the recipient name, company, and the offer you want the banner to show.

  2. List recipients in a Google Sheet

    Add one row per recipient with the name, company, and offer their header should show. The sheet is your recipient list.

  3. Set the schedule

    Connect the sheet and pick how often the workflow runs. It reads the rows and renders a header image from each one.

  4. Collect the hosted URLs

    Every render returns a hosted Orshot image URL. Drop each one into your email tool's header slot. The workflow does not send the email itself.

Integrations in this workflow

Connect these apps once and the workflow moves your data through them automatically.

Frequently asked

How do I personalize email header images for each recipient?

List your recipients in a Google Sheet with a row each, then connect it to this workflow. On the schedule you set, Orshot renders a header image from your template for every row, using that person's name, company, and offer. Each render comes back as a hosted image URL.

Does this workflow send the emails?

No. It renders the images and returns a hosted URL for each one. You paste those URLs into your own email tool, so sending stays with your email platform and the personalization is done for you.

Where do the image URLs go?

Into the header image field of whatever email tool you use. Match each URL to its recipient by the row's name or email column, and the banner in that send becomes the personalized one.

Will long names break the layout?

No. The text auto-fits, so a long company name sits in the same layout as a short one without overflowing or shrinking the whole design.

Can I show a different offer per person?

Yes. Add an offer column to your sheet and the workflow places each row's value on its header, so one template can carry a different message for every recipient.