How to generate visuals with Zapier
Automatically render images, PDFs, and videos from your Orshot templates with a Zapier Zap — no code
Published Jun 8, 2026
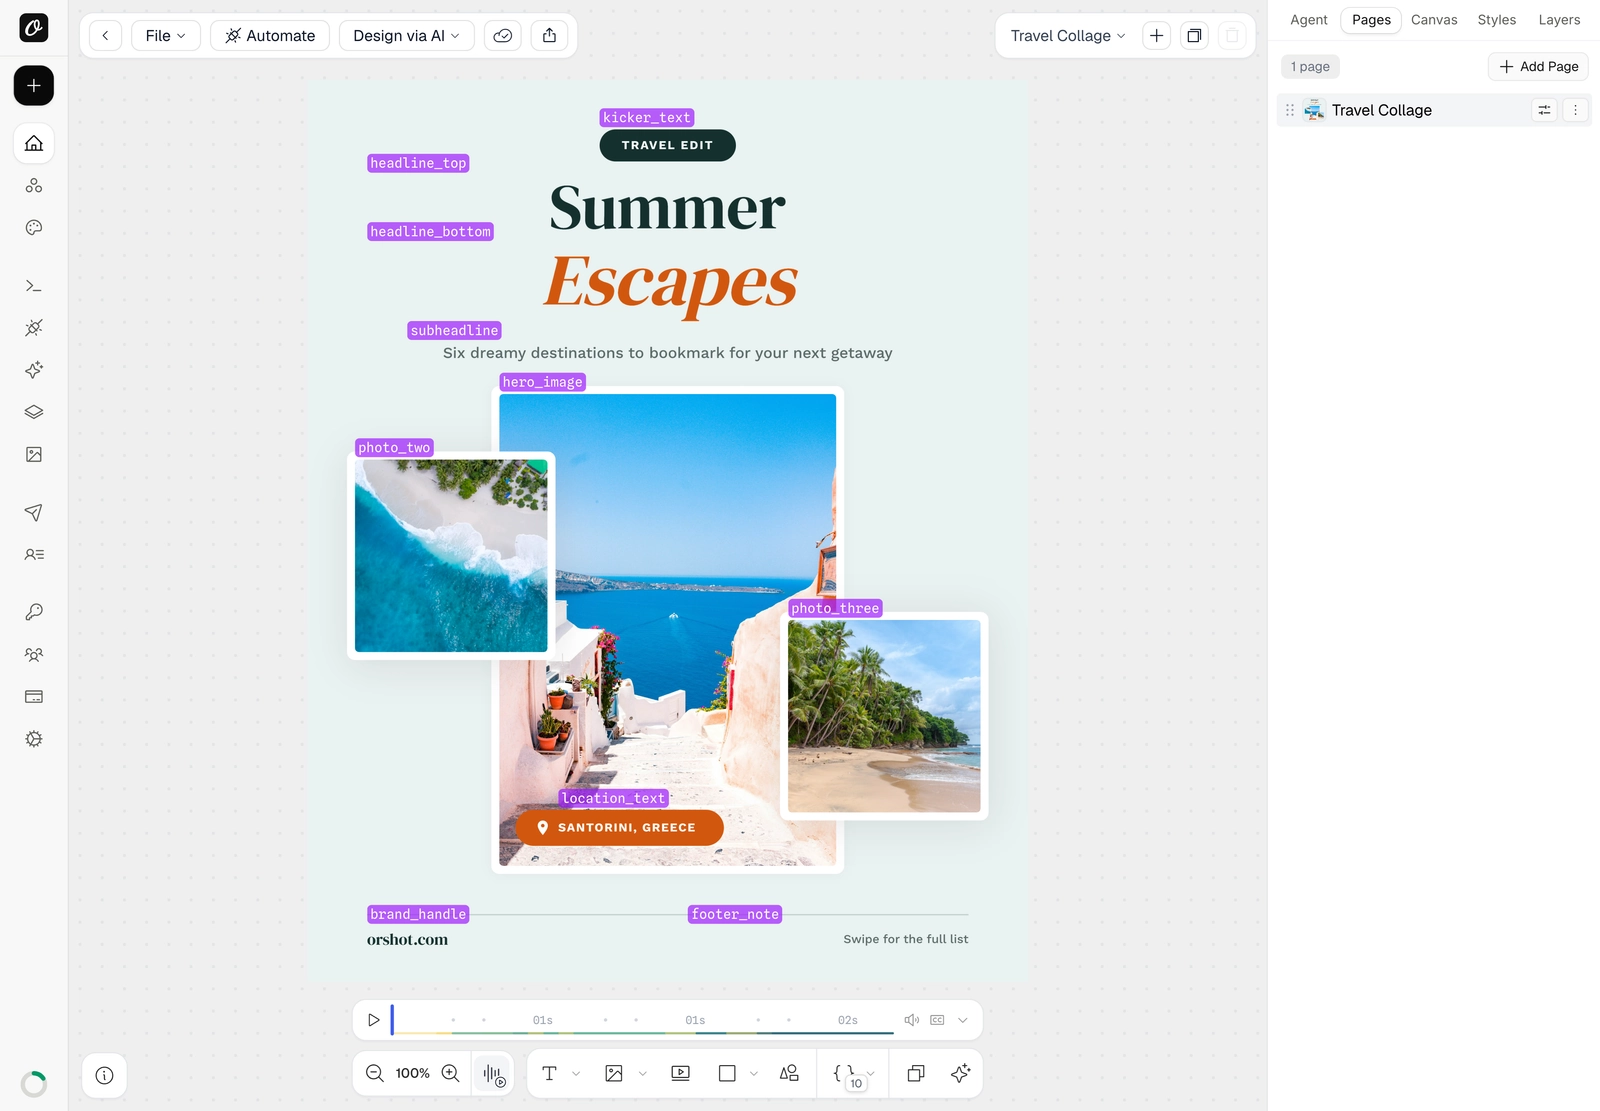
Zapier connects Orshot to thousands of apps. With a Zap, any trigger — a new spreadsheet row, a form submission, a schedule — can render an image, PDF, or video from one of your templates automatically, with no code. Here's the template we'll automate:

1. Know your template's parameters#
Open your template in Orshot Studio and press ⌘] (Toggle Parameter View). Every editable element is labelled with its parameter name — kicker_text, headline_top, hero_image, and so on. These names are exactly the fields you'll fill from Zapier, so it helps to know them up front.
Add or rename parameters
Any element can be made dynamic — see Make your template dynamic.
2. Grab your Template ID and API key#
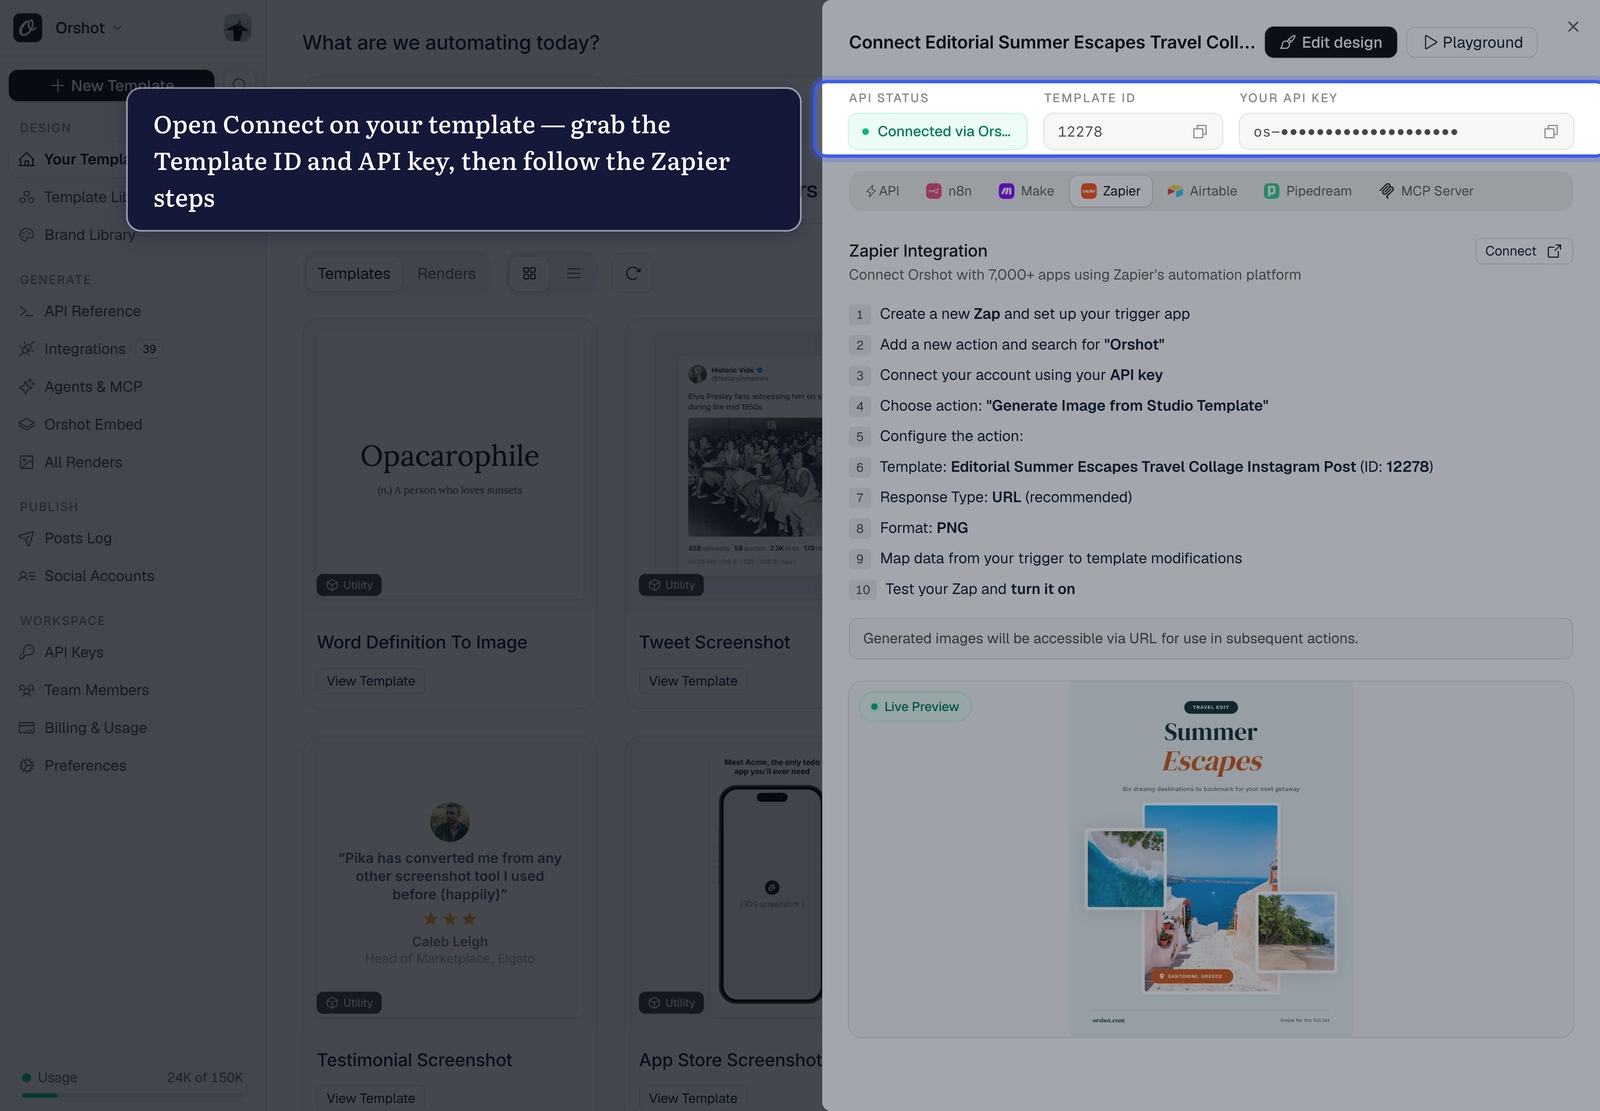
On the template's card, click Connect. The sheet gives you the Template ID and API key to paste into Zapier, a Zapier tab with the exact steps, and a Live Preview. New to API keys? See Find your API key and template ID.
Prefer a ready-made workflow?
The n8n and Make tabs in this same sheet include a prebuilt workflow you can Copy or Download as .json and import directly. Zapier doesn't import workflows — but it only takes a few clicks to build, below.
3. Add the Orshot action#
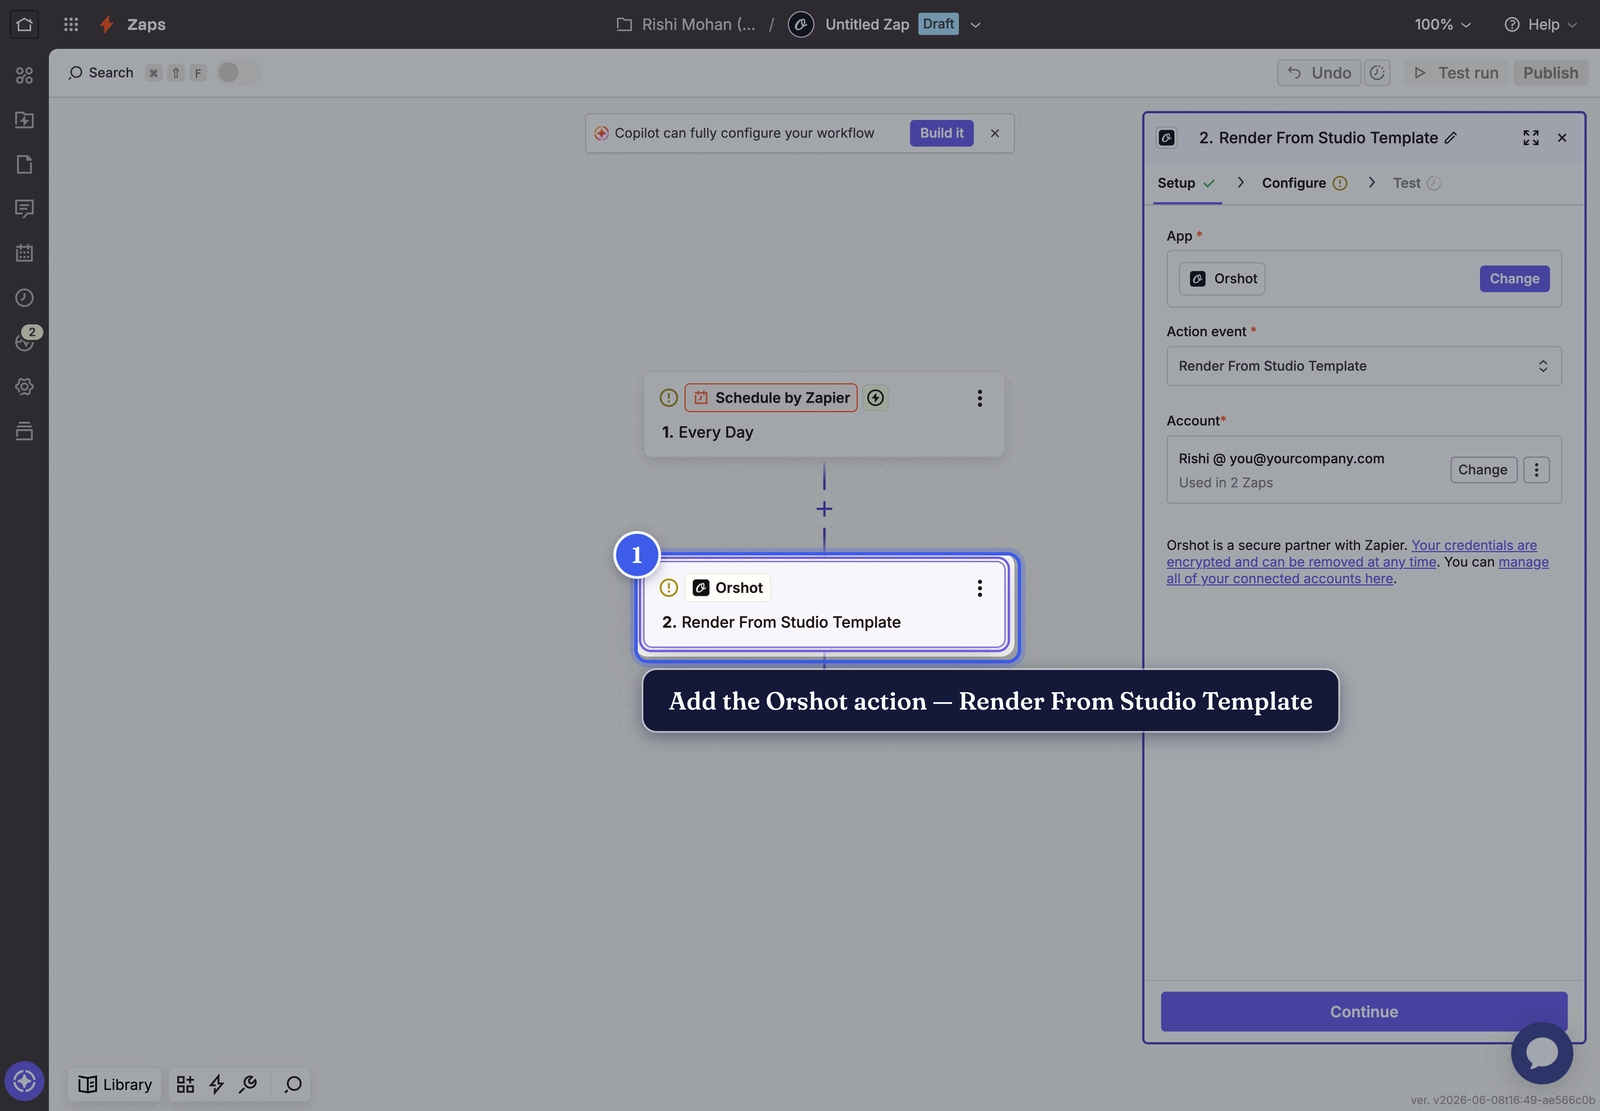
Create a Zap and pick a trigger — the event that starts your workflow (any trigger works; here we use a simple Schedule). Add an action step, search for Orshot, and choose Render From Studio Template (use Render From Template for library templates). The first time, connect your Orshot account with your API key.
4. Select your template#
In the Template ID field, pick the template you want to render.
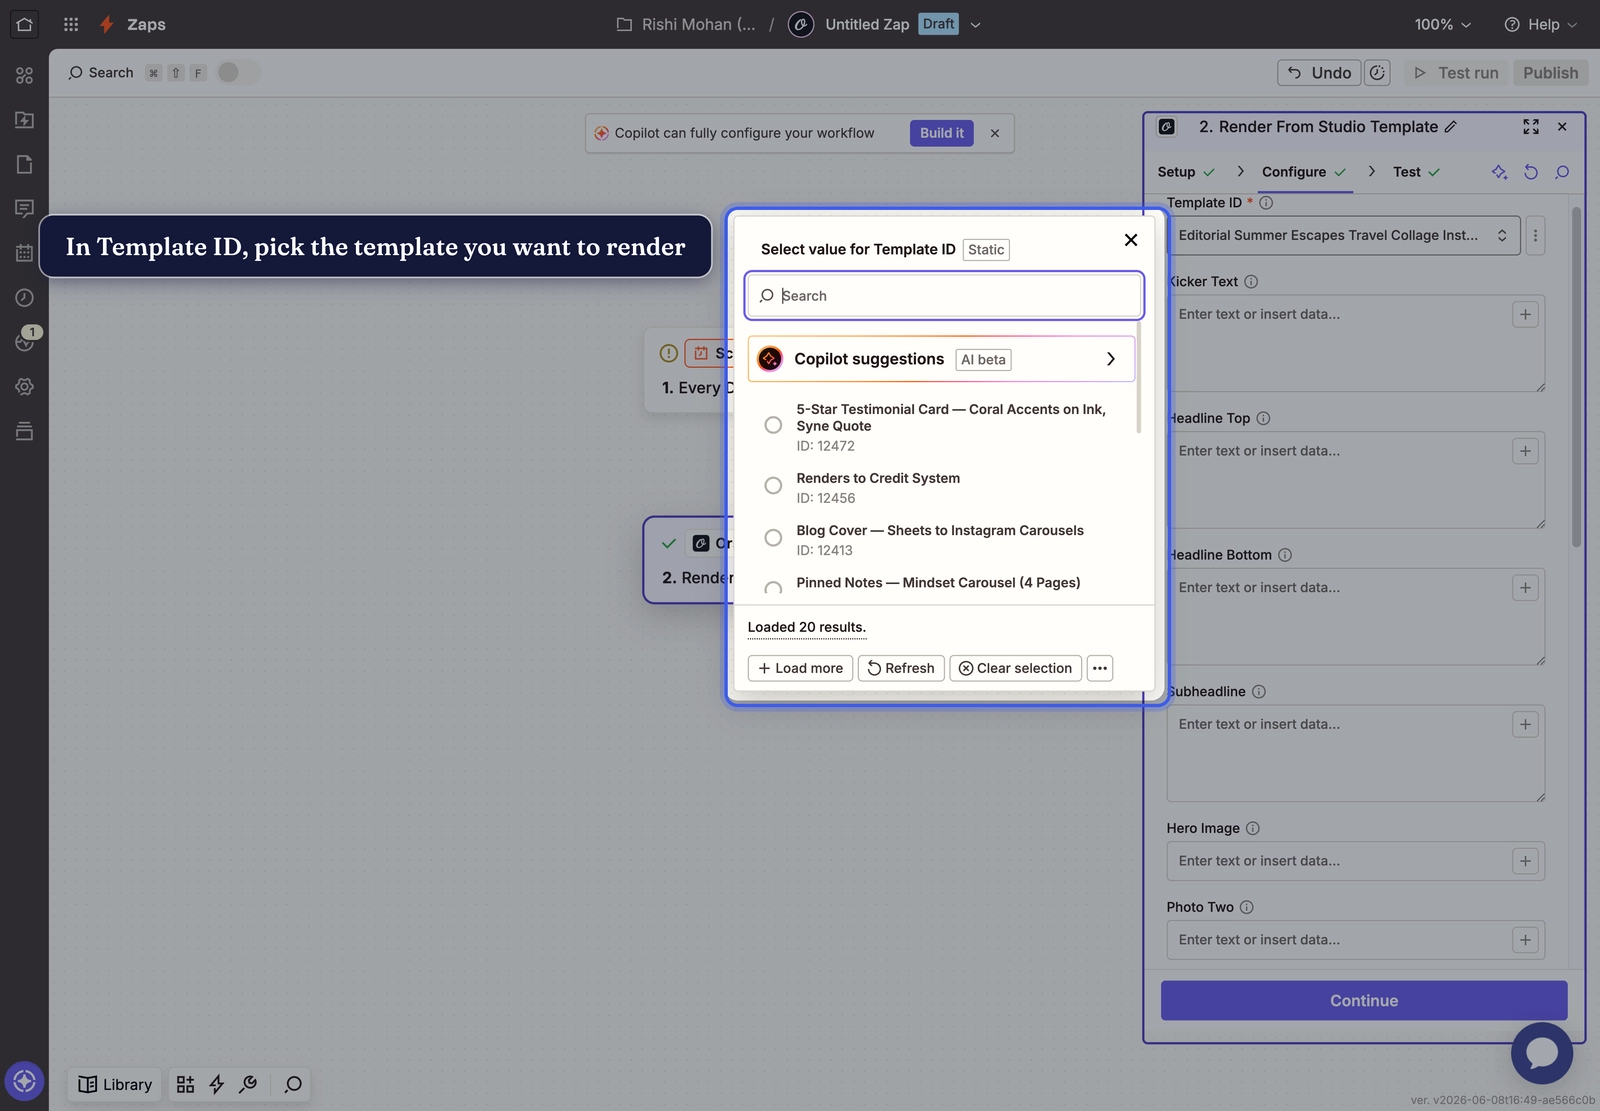
Once a template is selected, the action expands to show one input for every parameter in that template — the same names you saw in Studio.
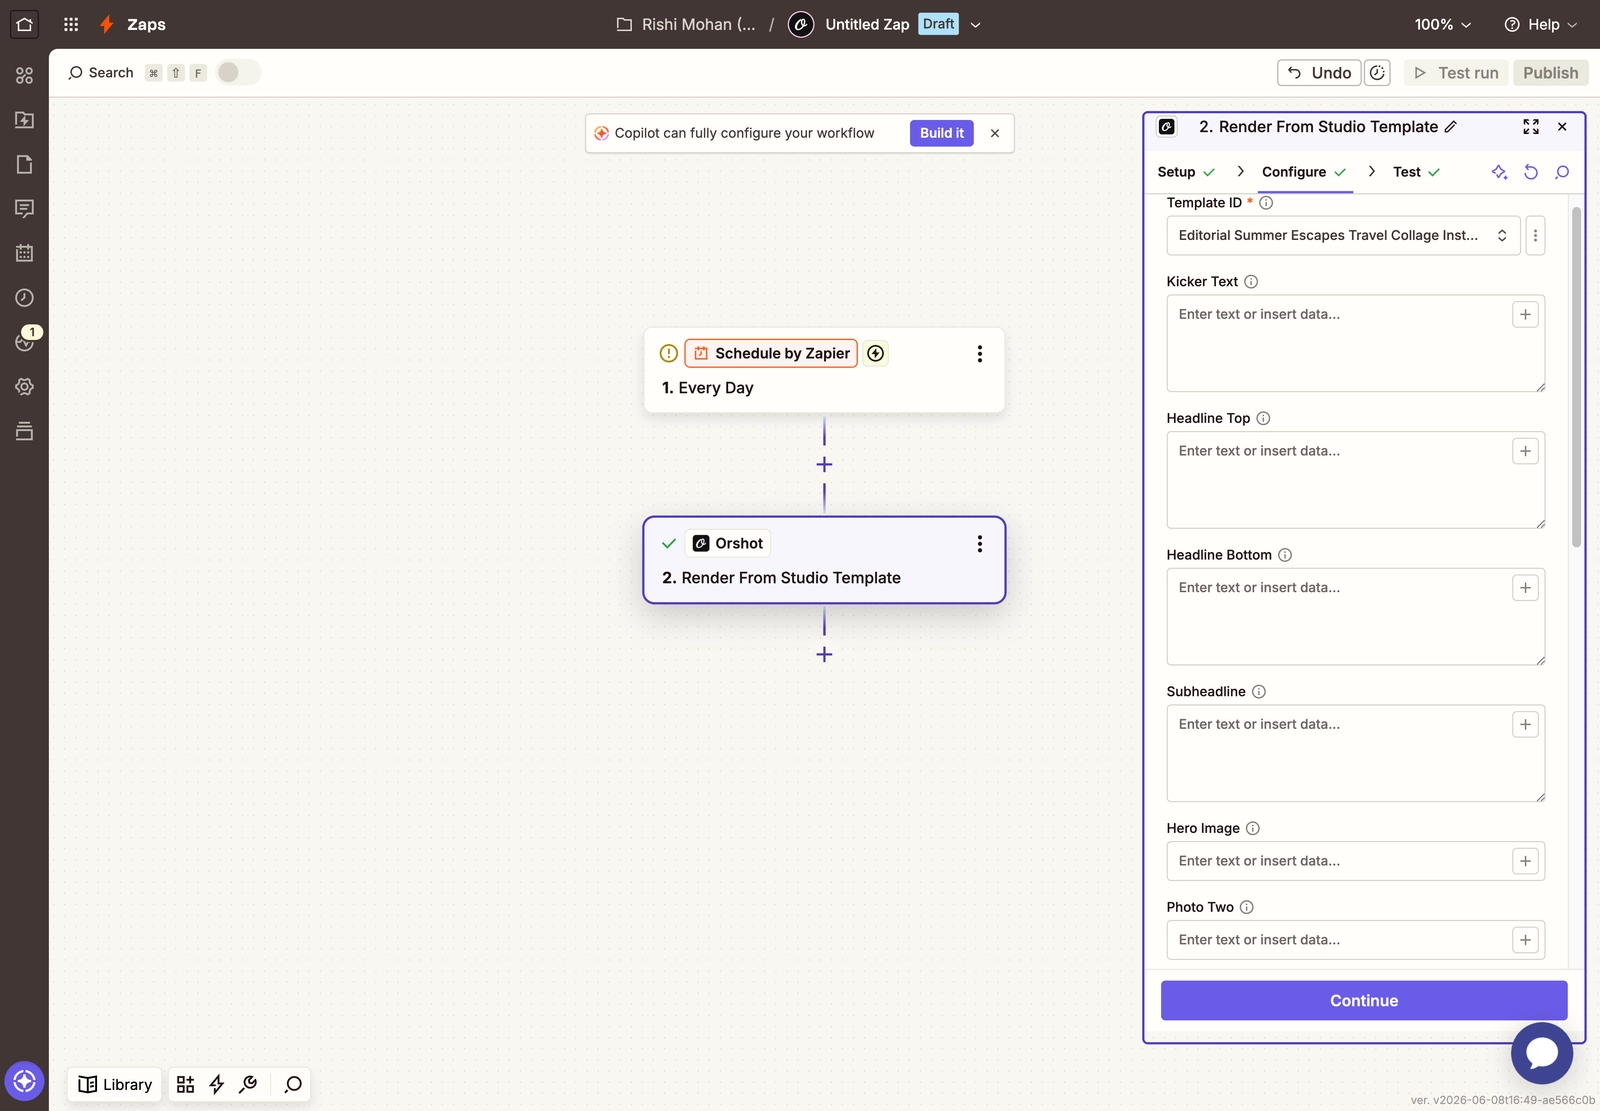
5. Fill in the modifications#
Modifications are the heart of the automation — they're how each run produces a different image. Every parameter from your template (step 1) shows up here as its own field. For each one you want to change:
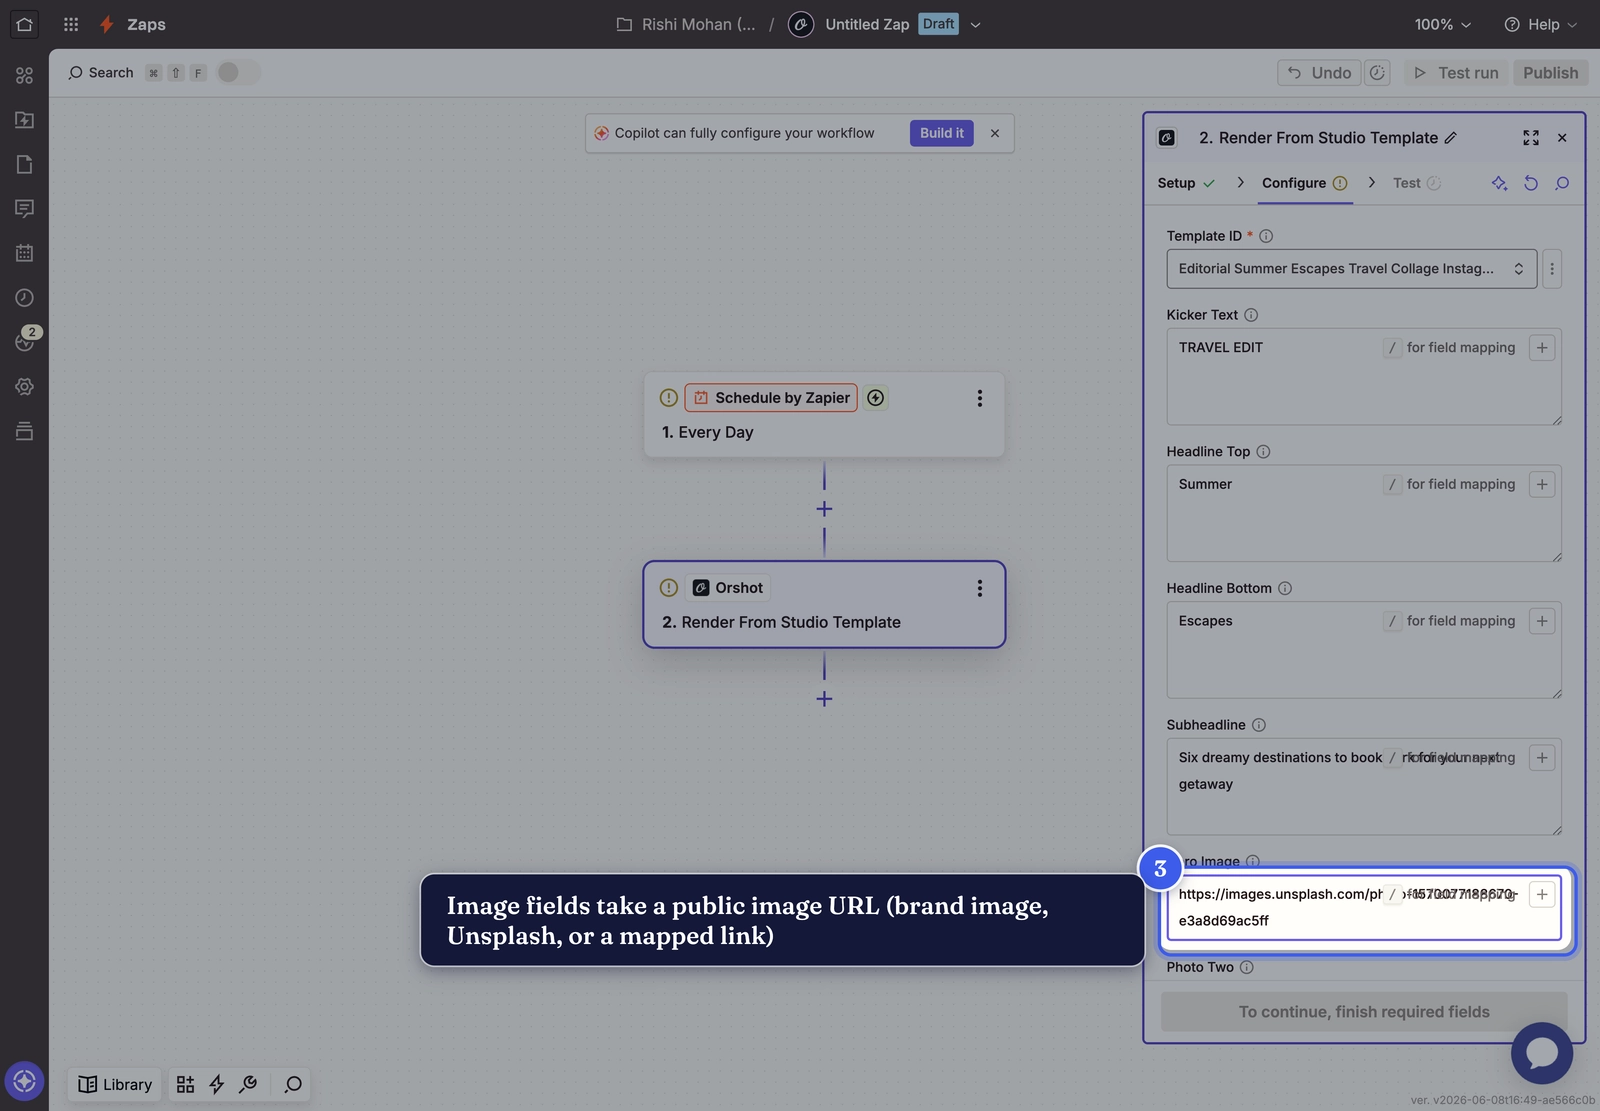
- Text fields (
Kicker Text,Headline Top,Subheadline…) — type a fixed value, or map in data from your trigger (next). - Leave any field blank to keep the template's default.

Image fields (Hero Image, Photo Two…) take a public image URL — a brand image, an Unsplash link, or a URL mapped from your trigger.
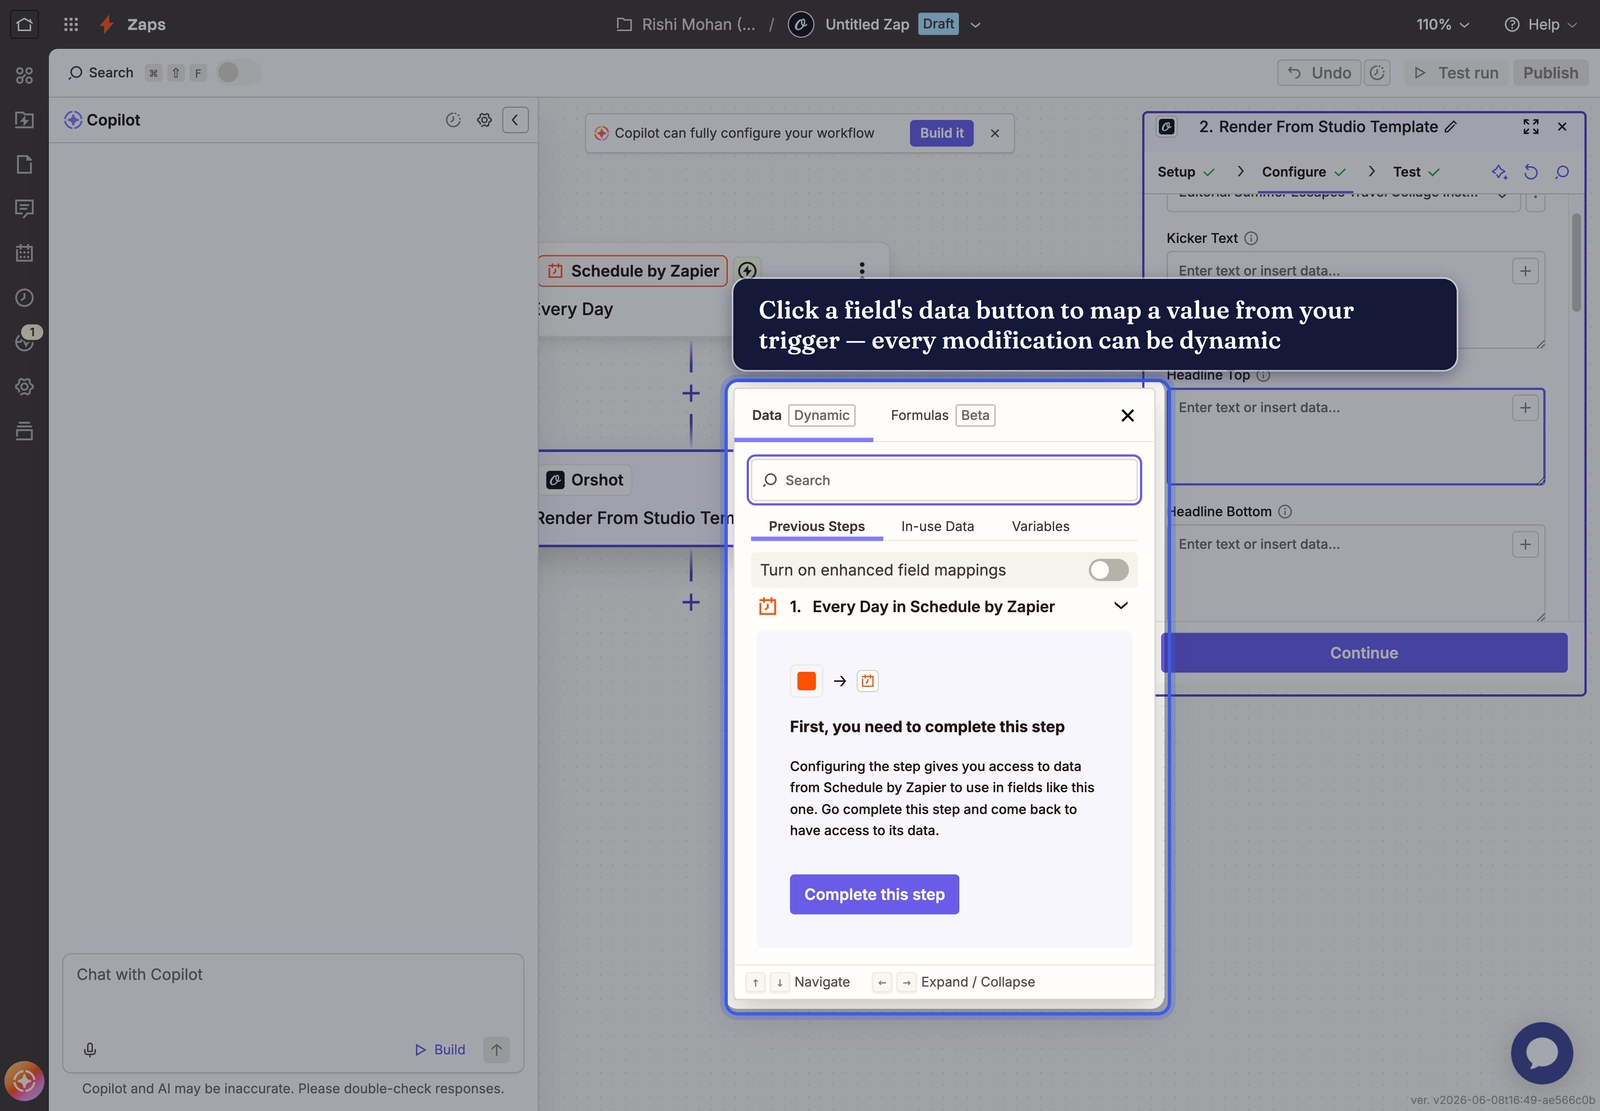
Map dynamic data into a modification#
To make a field change on every run, click it and use the data button to pull a value from a previous step instead of typing one. The picker lists your trigger's output fields — pick one and Zapier inserts it as a data token. That's how you turn a static template into, say, a personalised image per spreadsheet row or form submission.
6. Set the output options#
Below the parameter fields:
- Response Type — how the result comes back:
URL(a hosted link, easiest to use later),Base64, orBinary. - Response Format — the output format. Everything Orshot renders is here:
png,jpg,jpeg,webp,pdf, andmp4,webm,giffor animated templates.
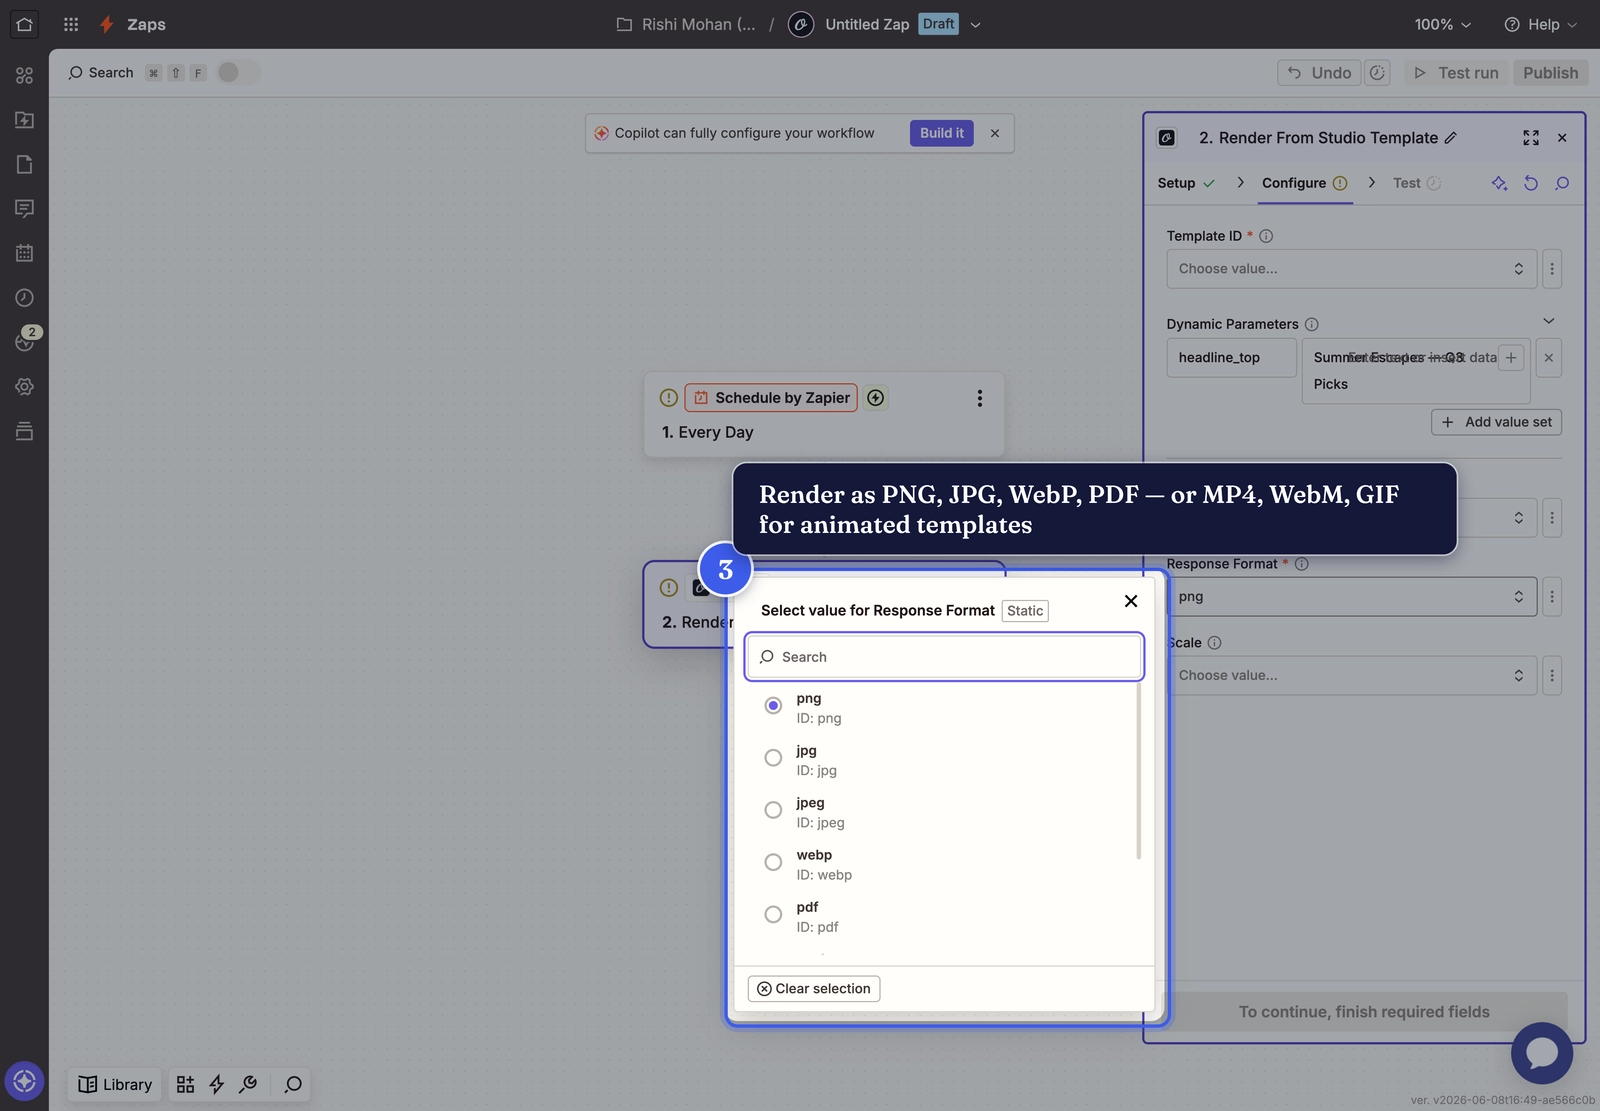
- Scale — the resolution multiplier.
1renders at the template's size;2doubles it for crisp retina or print output (larger file).
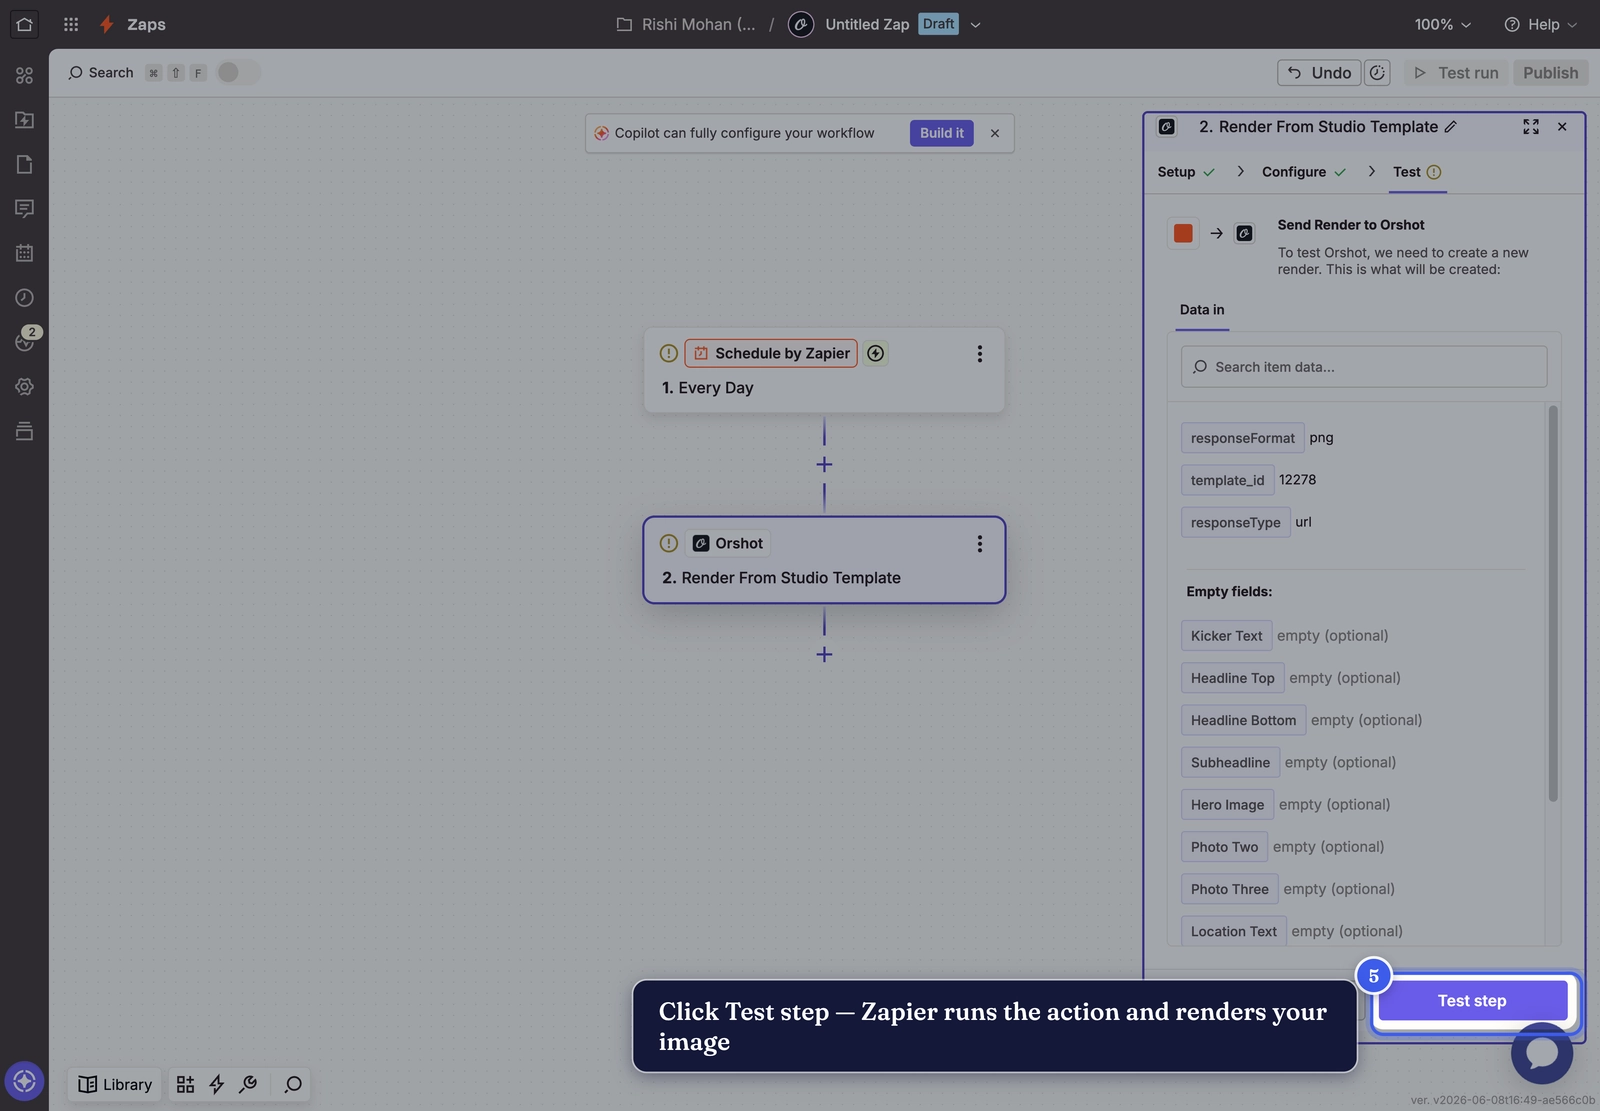
7. Test the step#
Click Test step. Zapier sends your settings to Orshot and renders the visual.
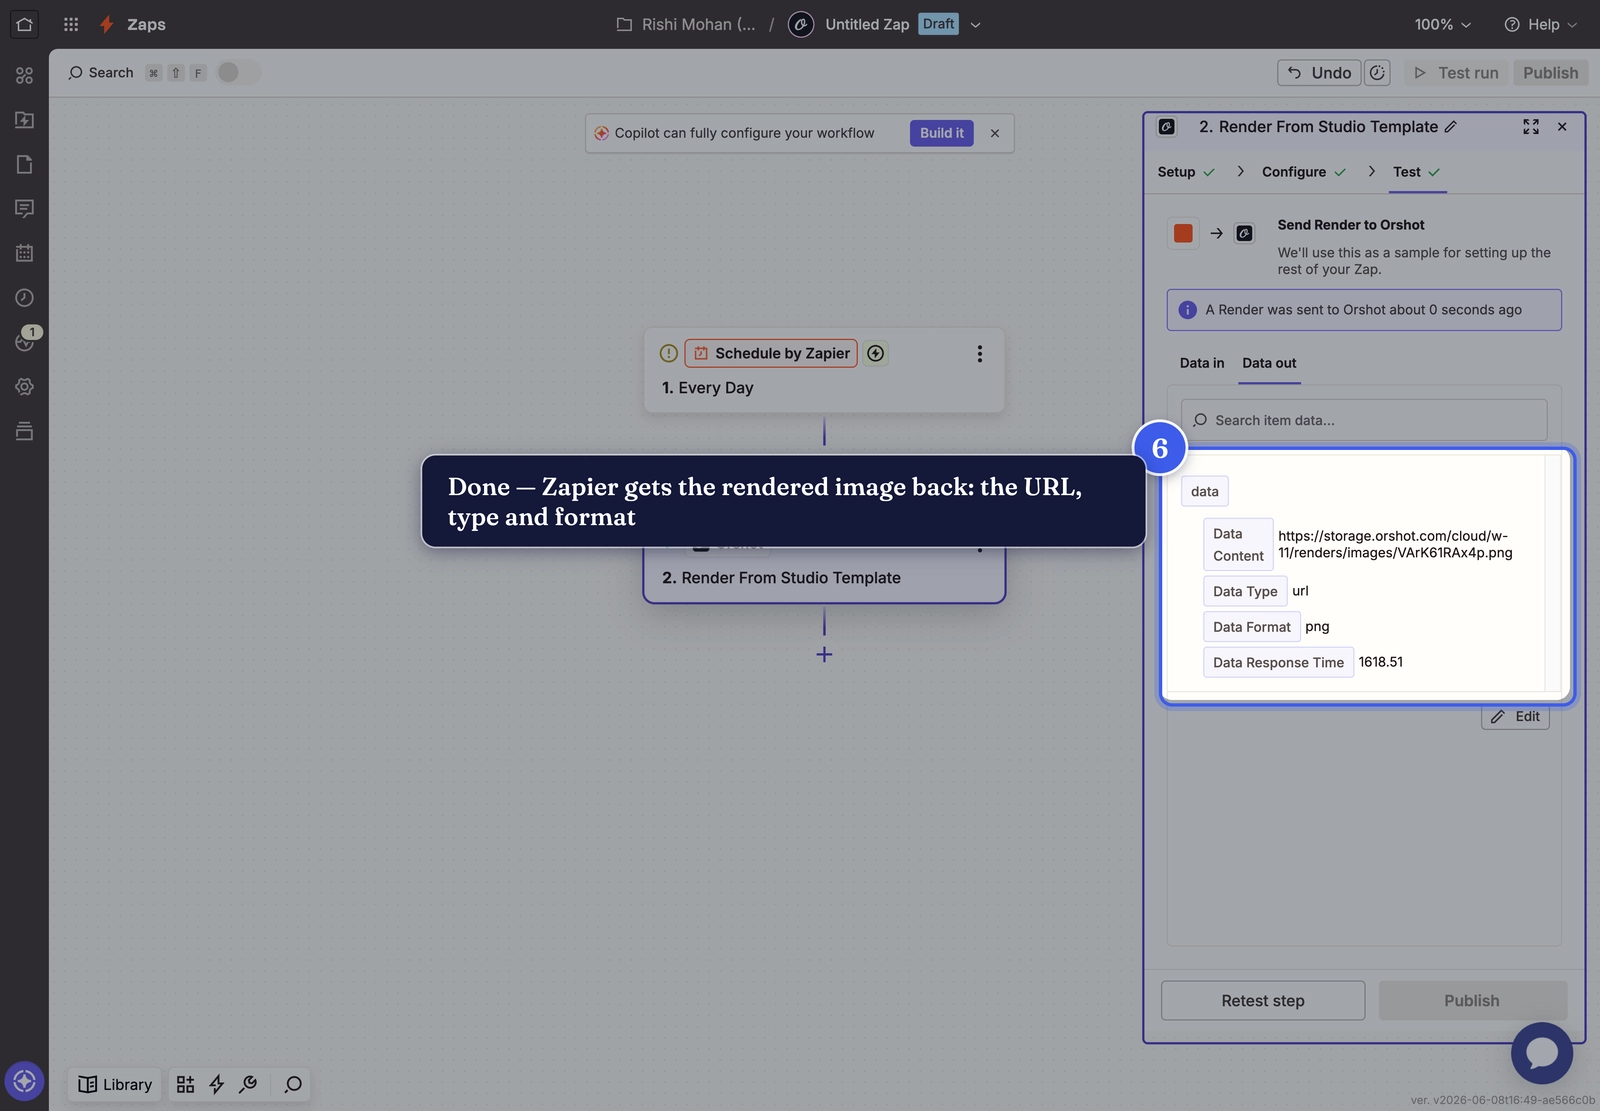
A moment later, the Data out panel shows the result — the rendered file as Content (a URL here), plus its Type and Format.
8. The result#
Open that URL and you've got your render — generated entirely from the Zap. With the format set to gif/mp4/webm, an animated template returns video instead:

9. Use it downstream#
Add more steps after Orshot and pass the returned URL along — save it to Google Drive, post it to Slack, attach it to an email, or upload it wherever you need it. Then turn the Zap on.
Tip
Keep Response Type on URL — most apps accept an image URL directly, so you can drop Orshot's output straight into the next action.
Related#
More in Automations
Ready to automate?
Start rendering images, PDFs and videos from your templates in under 2 minutes. Free plan, no credit card.
Get your API key- Image, PDF and video generation via API
- Visual editor with AI and smart layouts
- Zapier, Make, MCP and 50+ integrations
- White-label embed for your own app
- 30 free credits — no credit card required